


scratch the owner
Handcrafted Products Straight From the Scratch Work of the Owner.
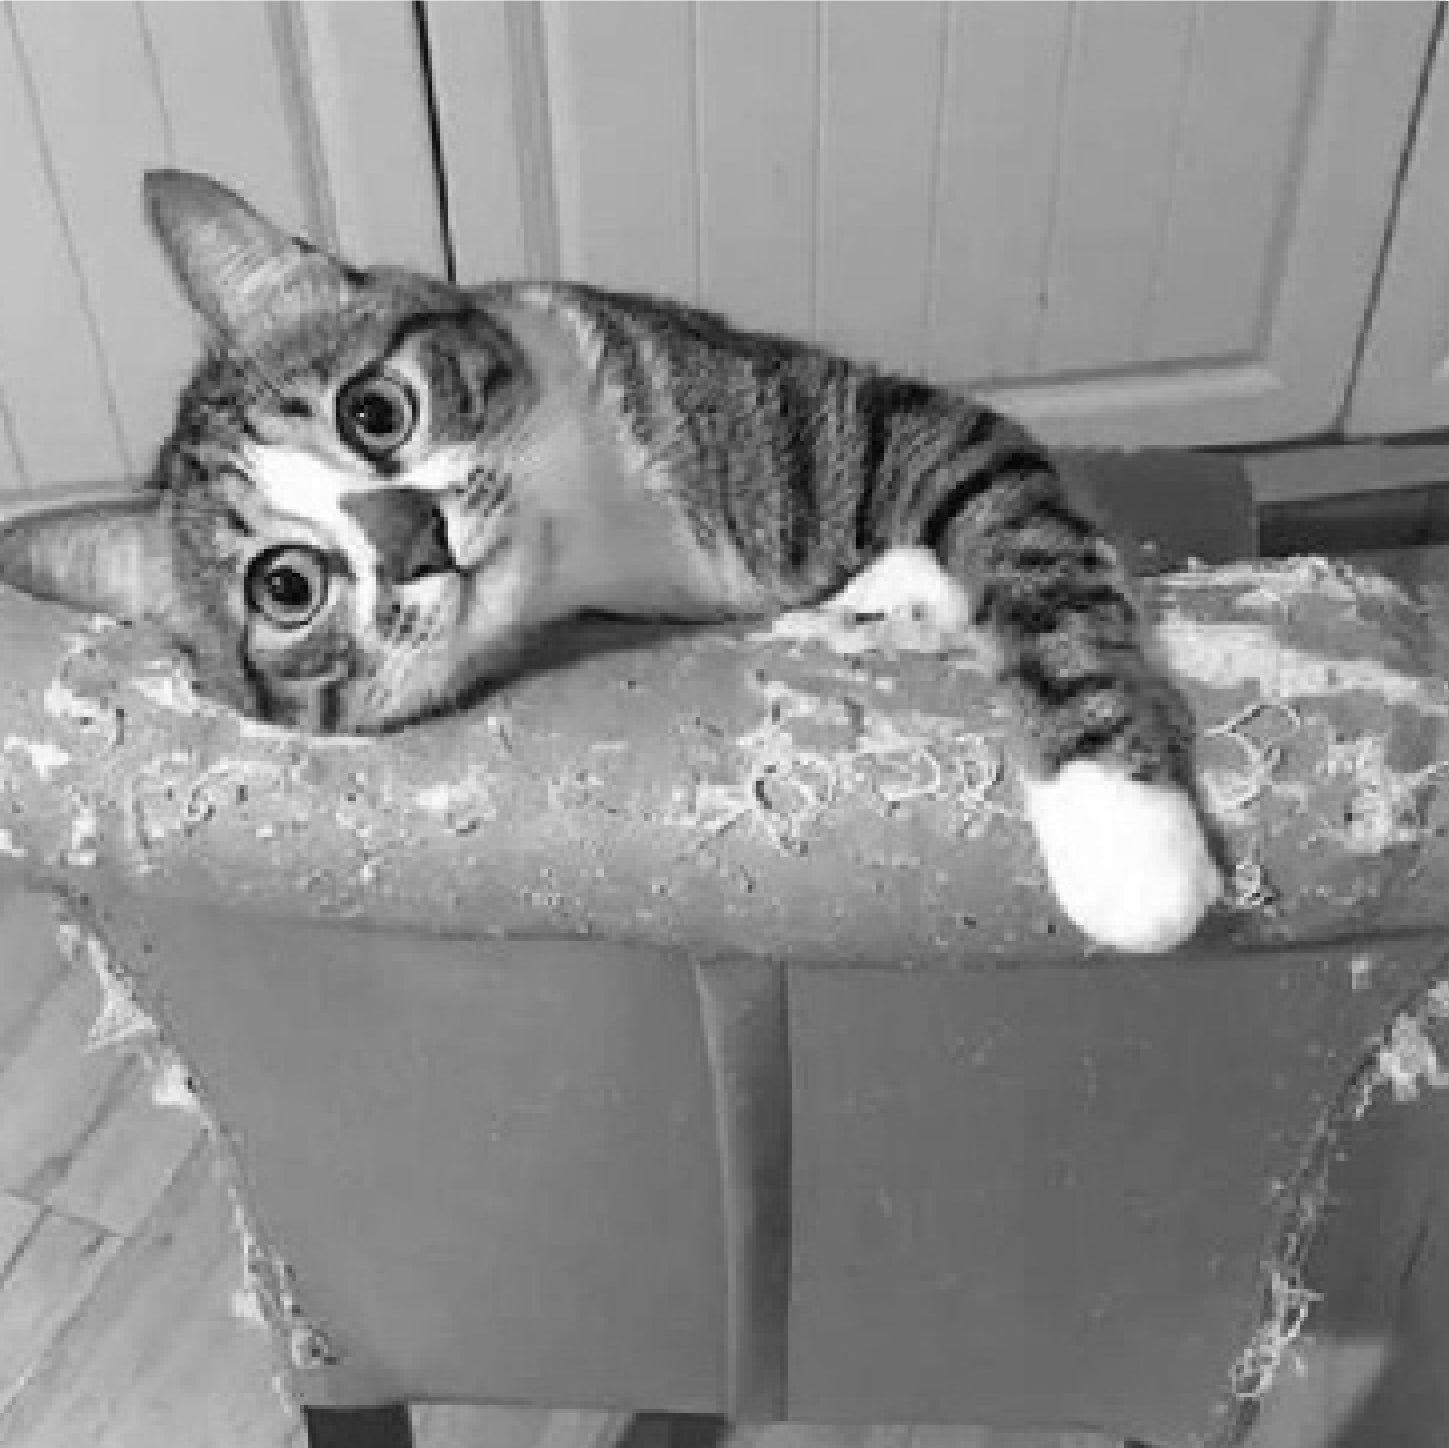
destroy furniture
Discover Long-lasting Furniture Pieces Built to Withstand Years of Use.

No interest in toys
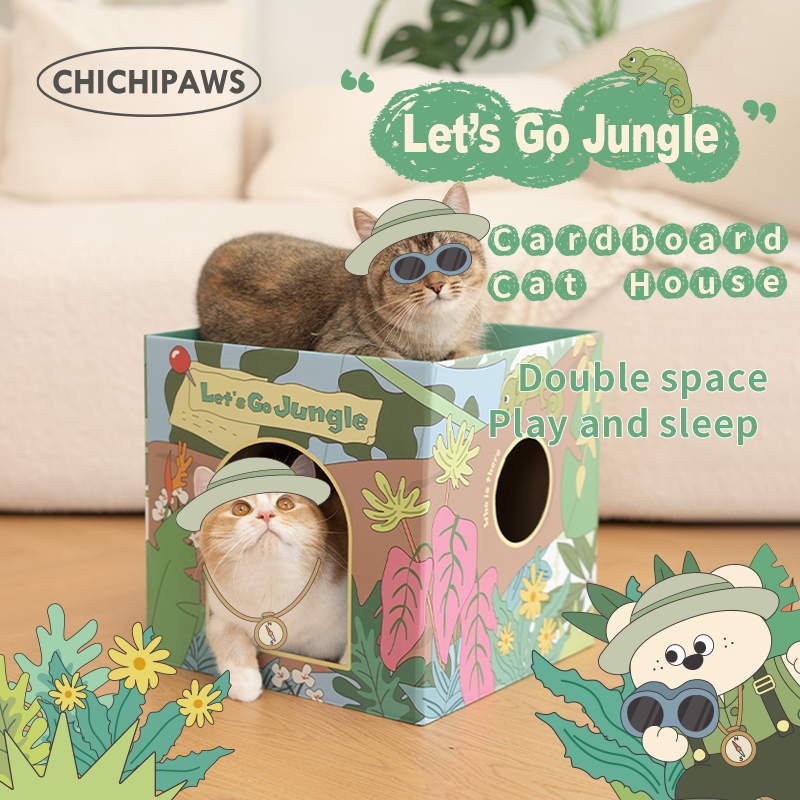
Unique brain teasers and puzzles for cognitive development.
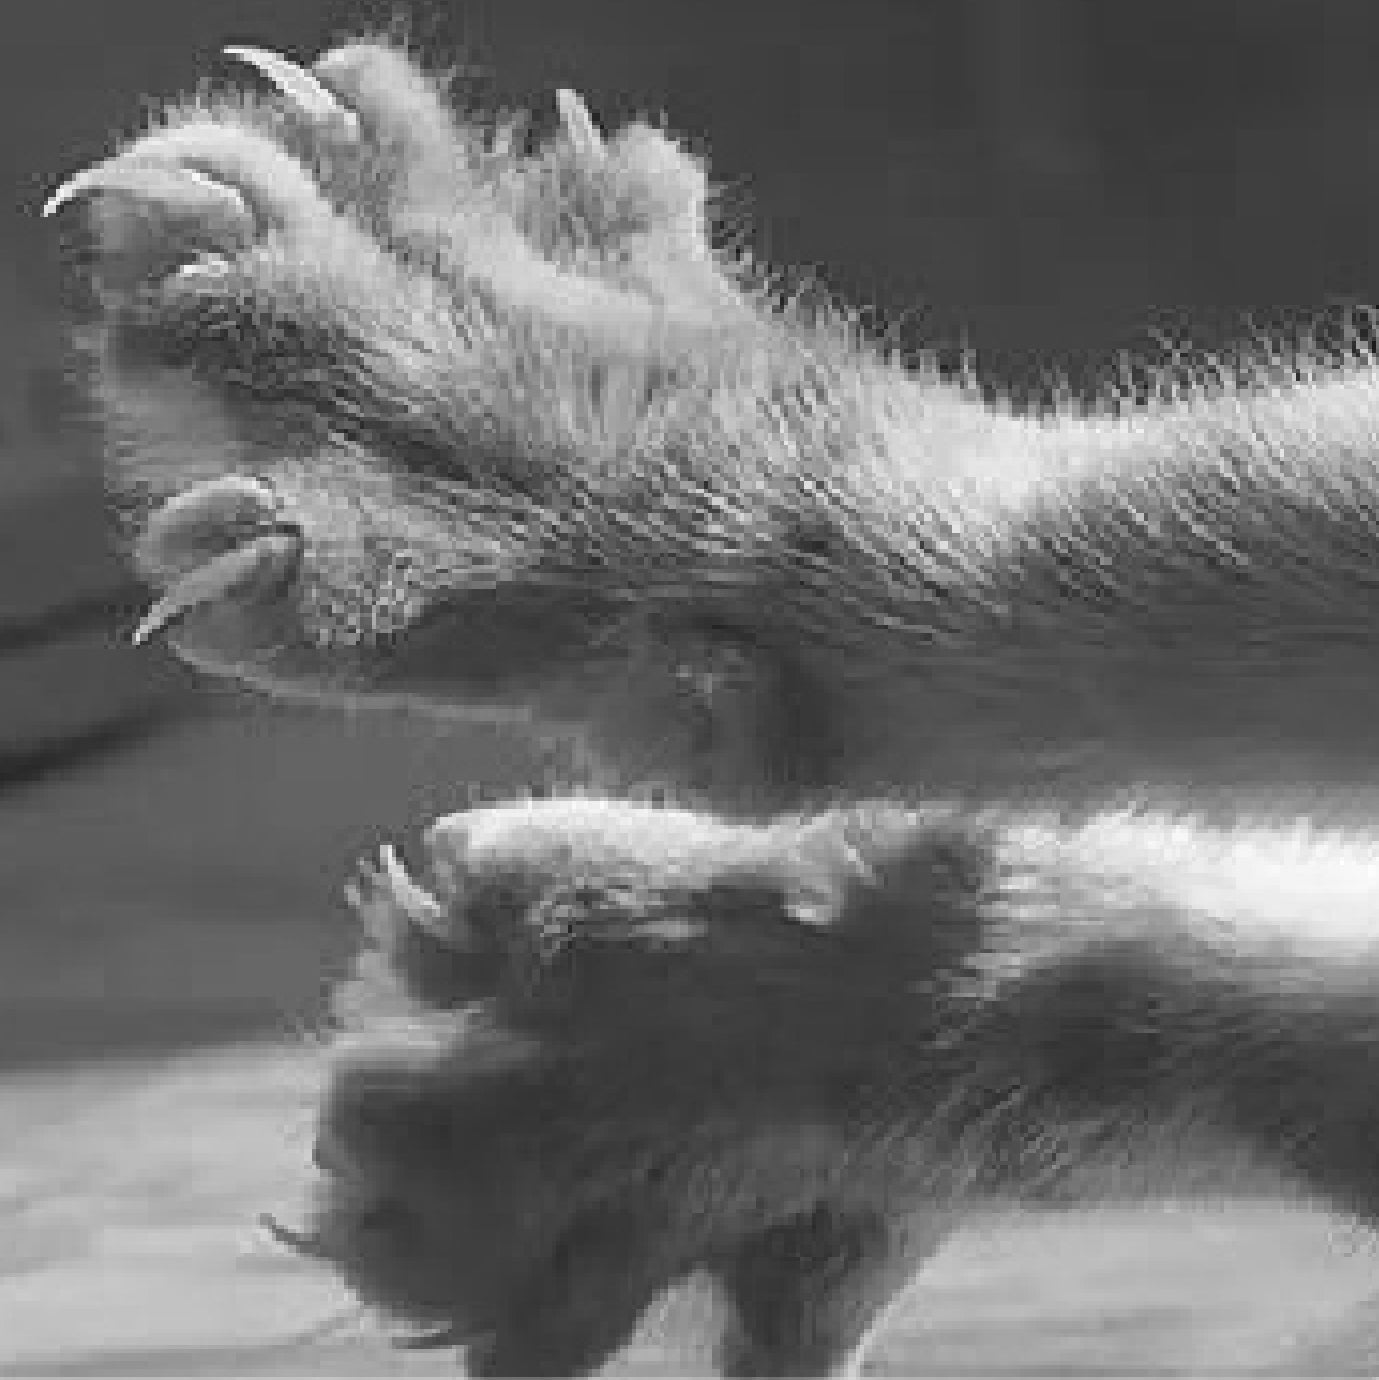
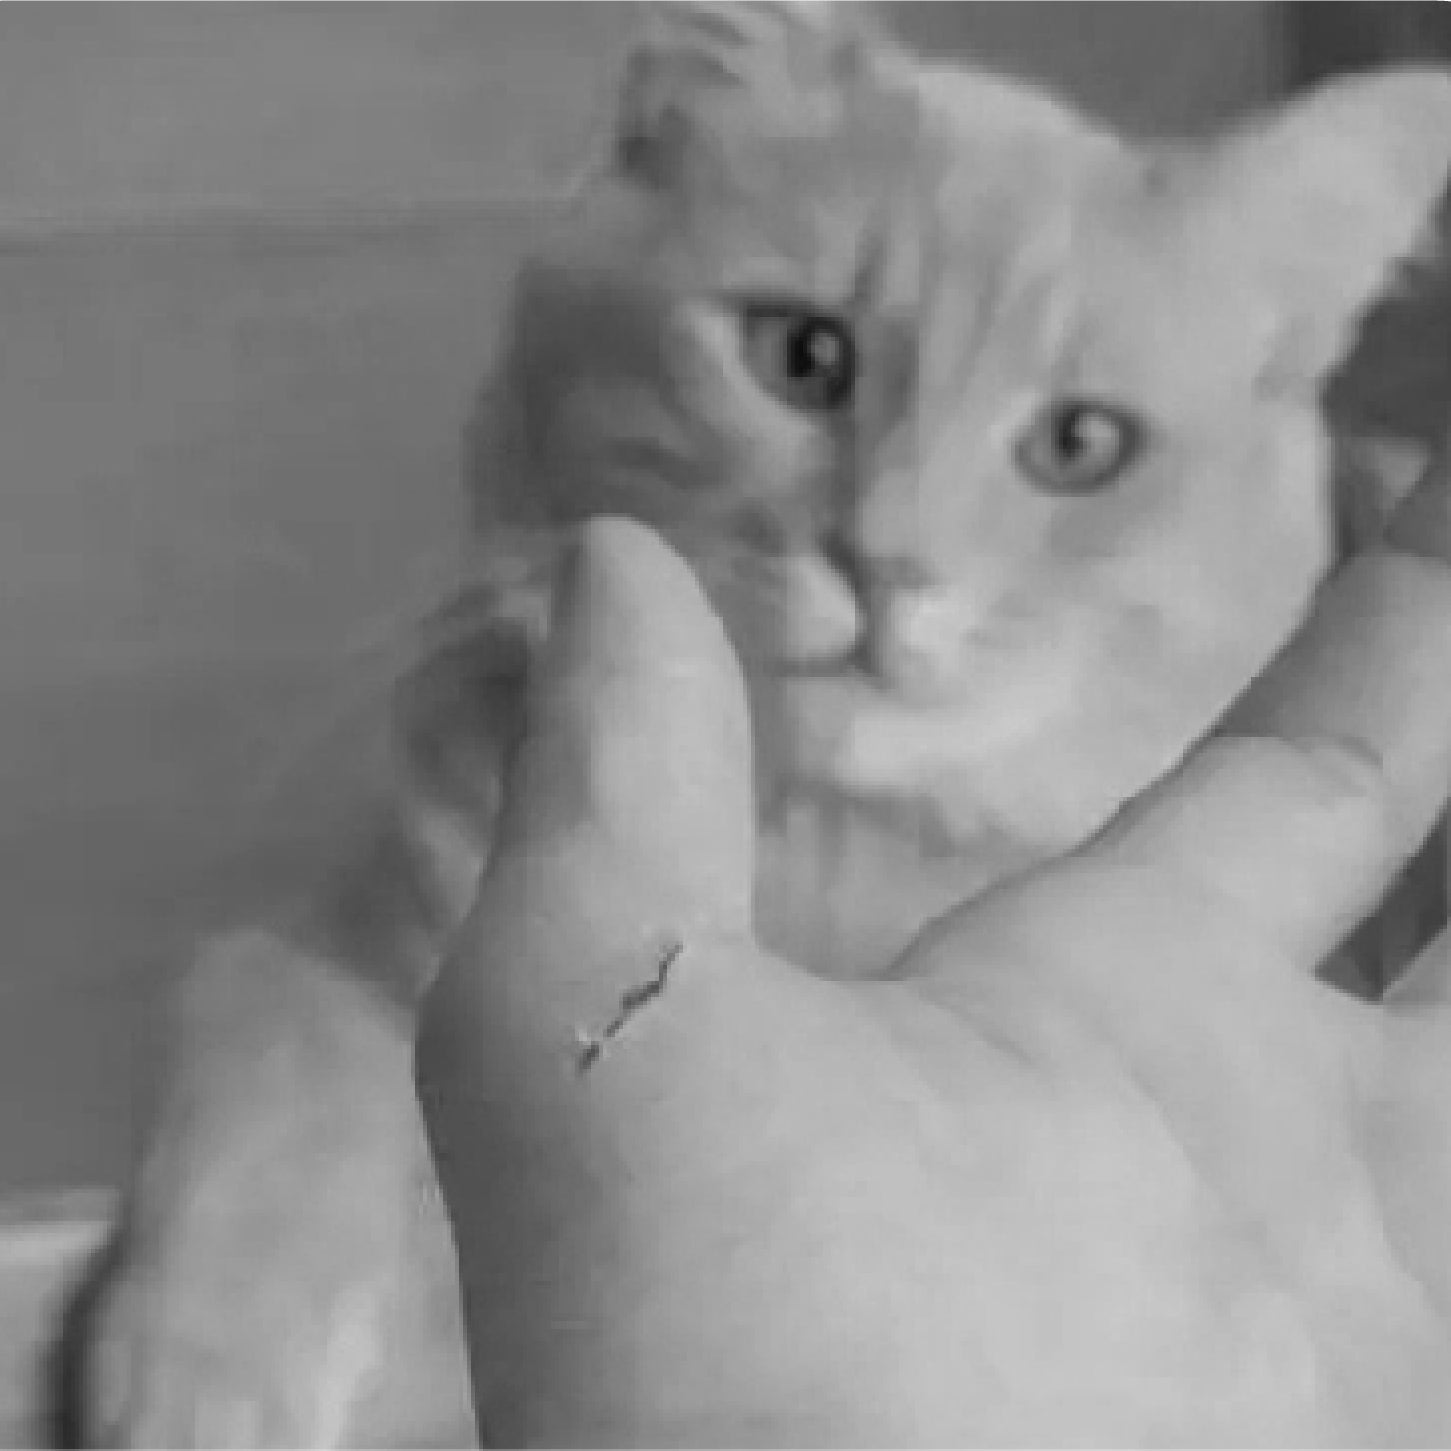
Injuries caused by long nails
Keep Your Hands Safe and On-Trend: Explore Nail Care Products to Prevent Annoying Scratches and Cuts.
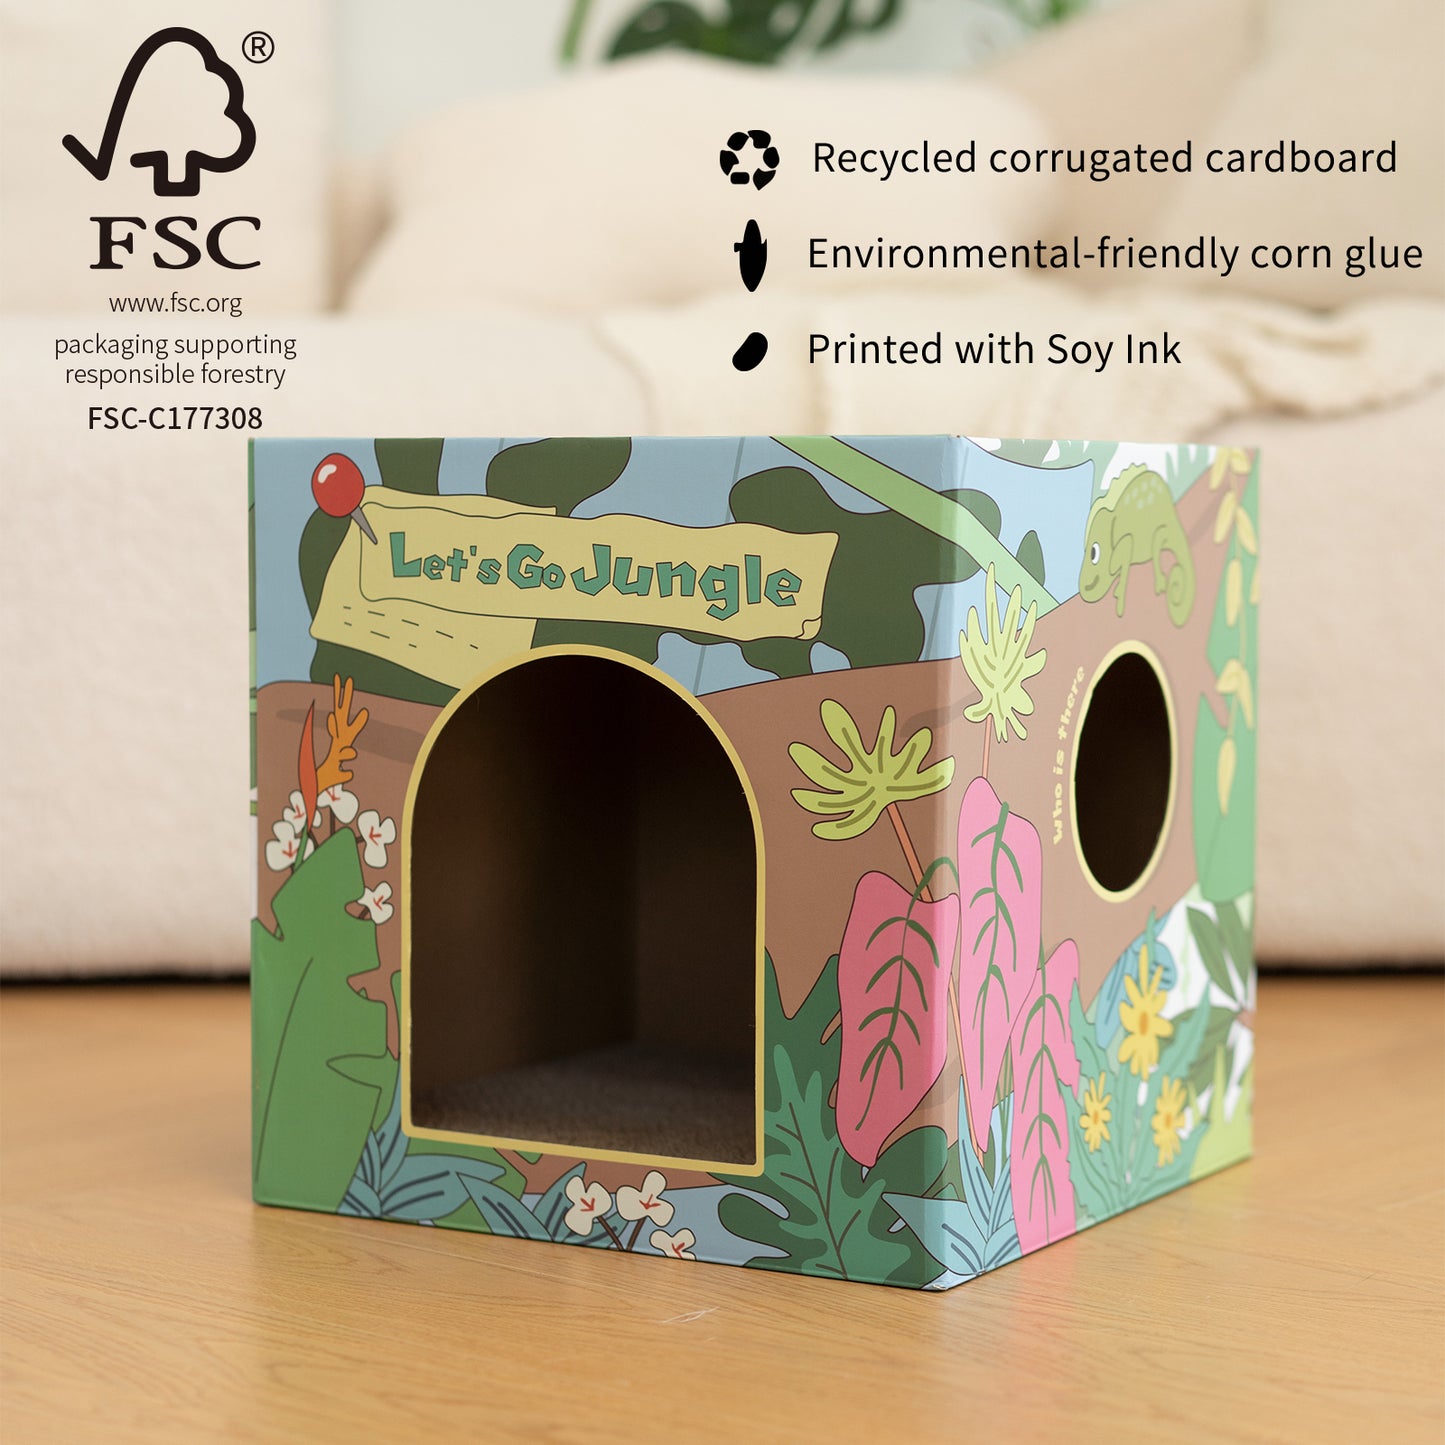
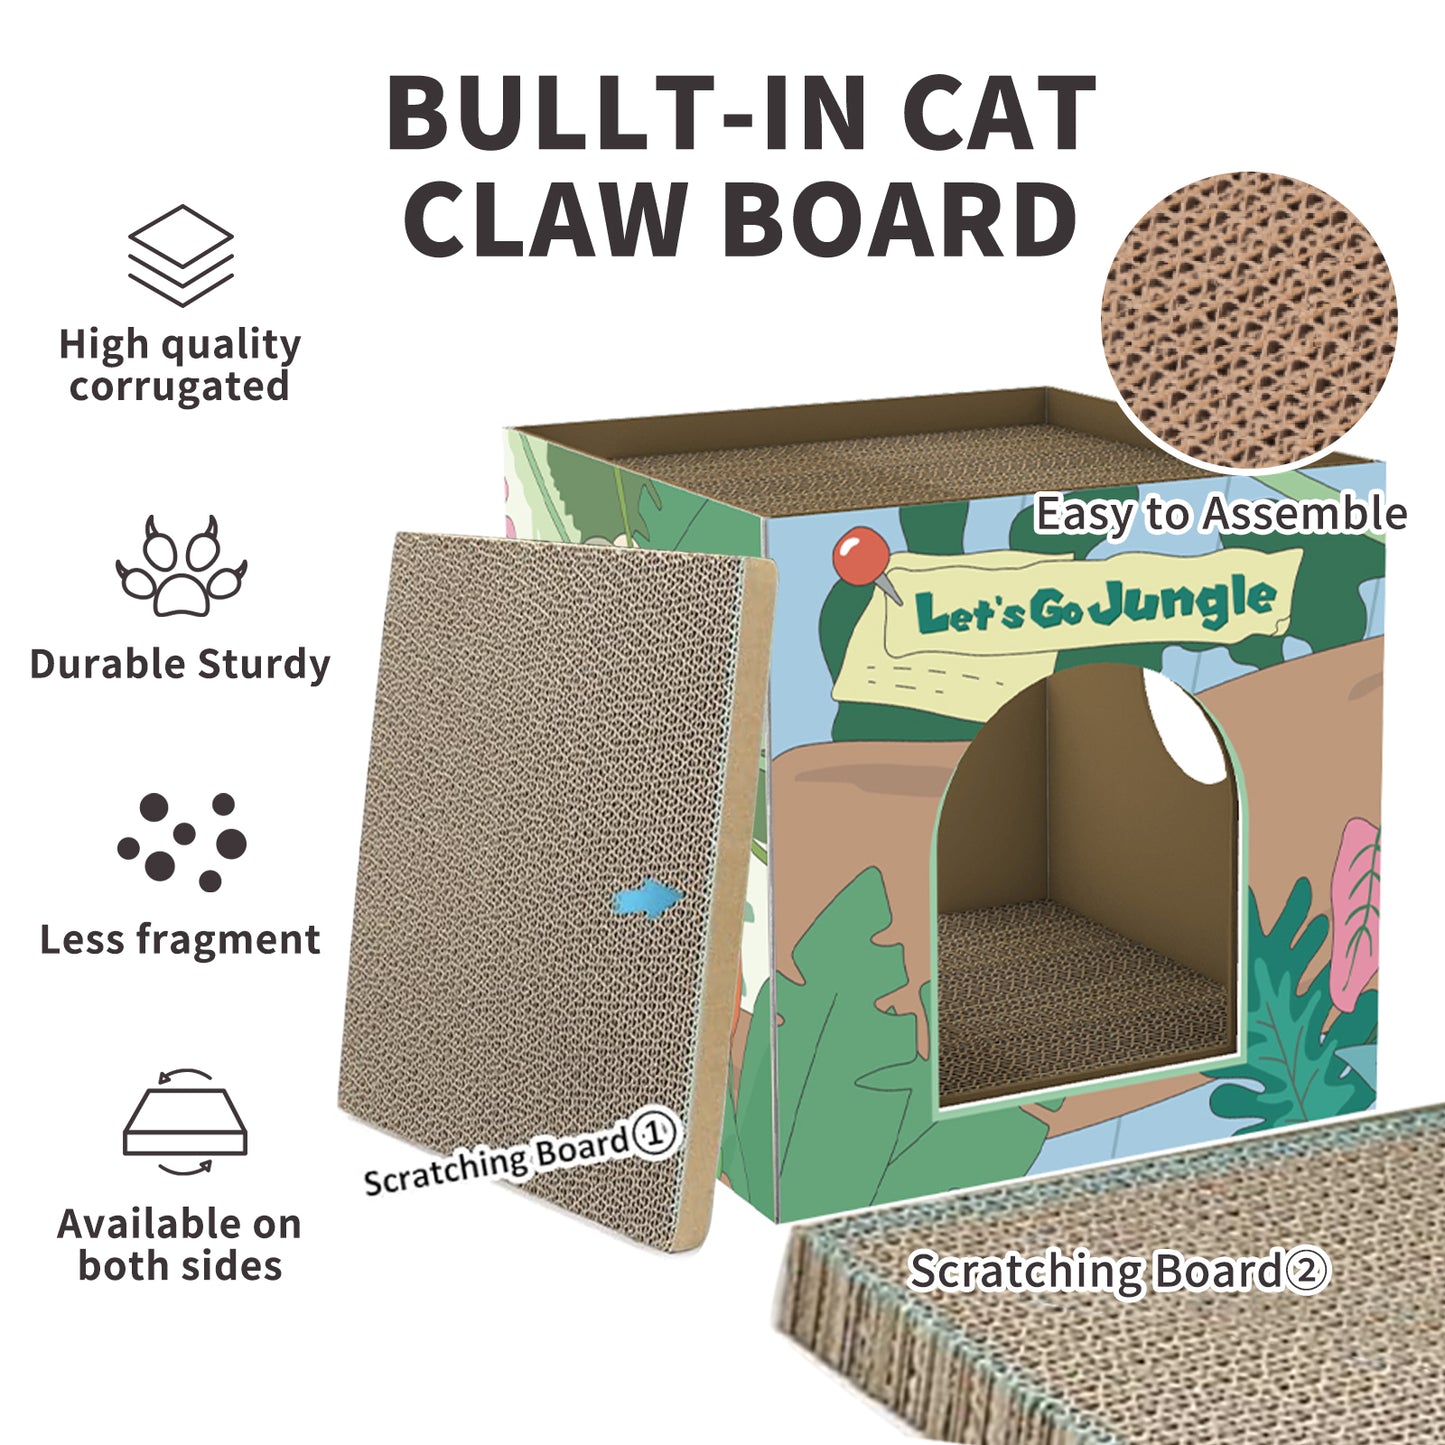
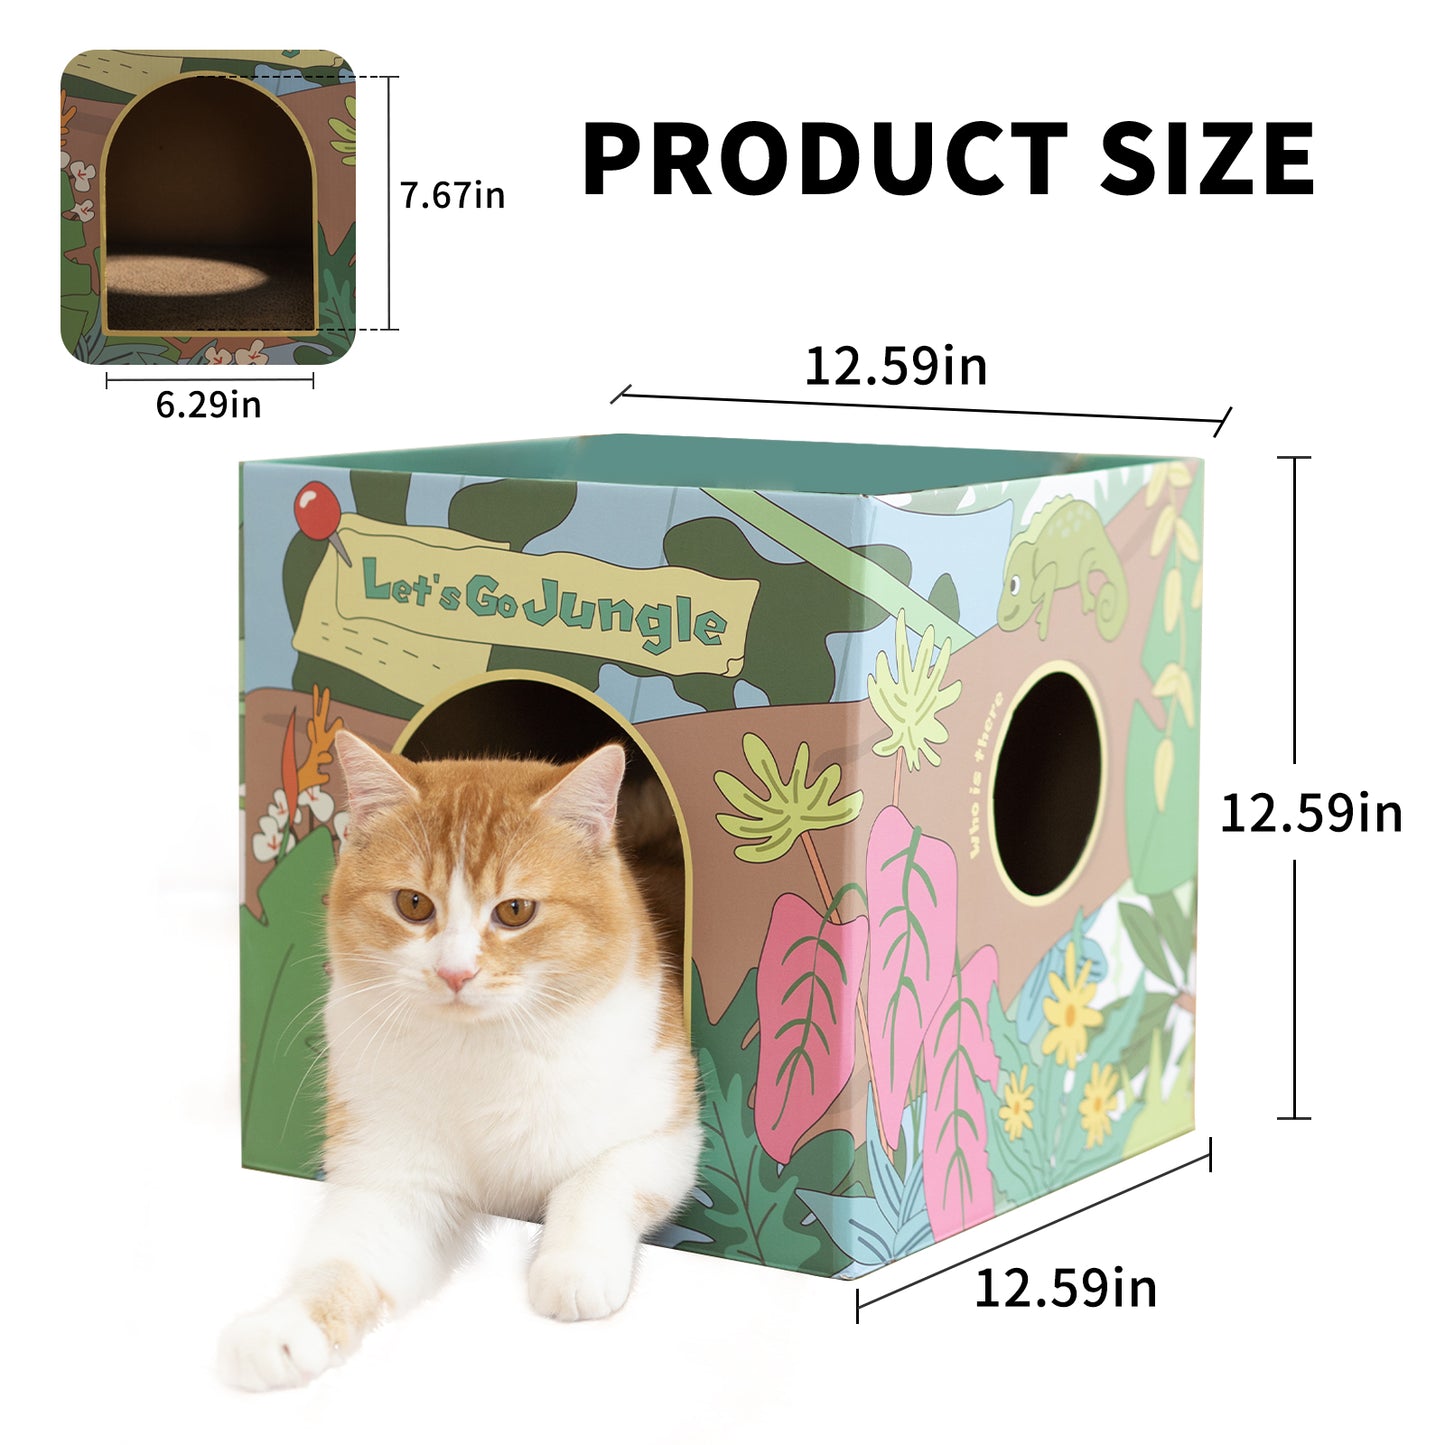
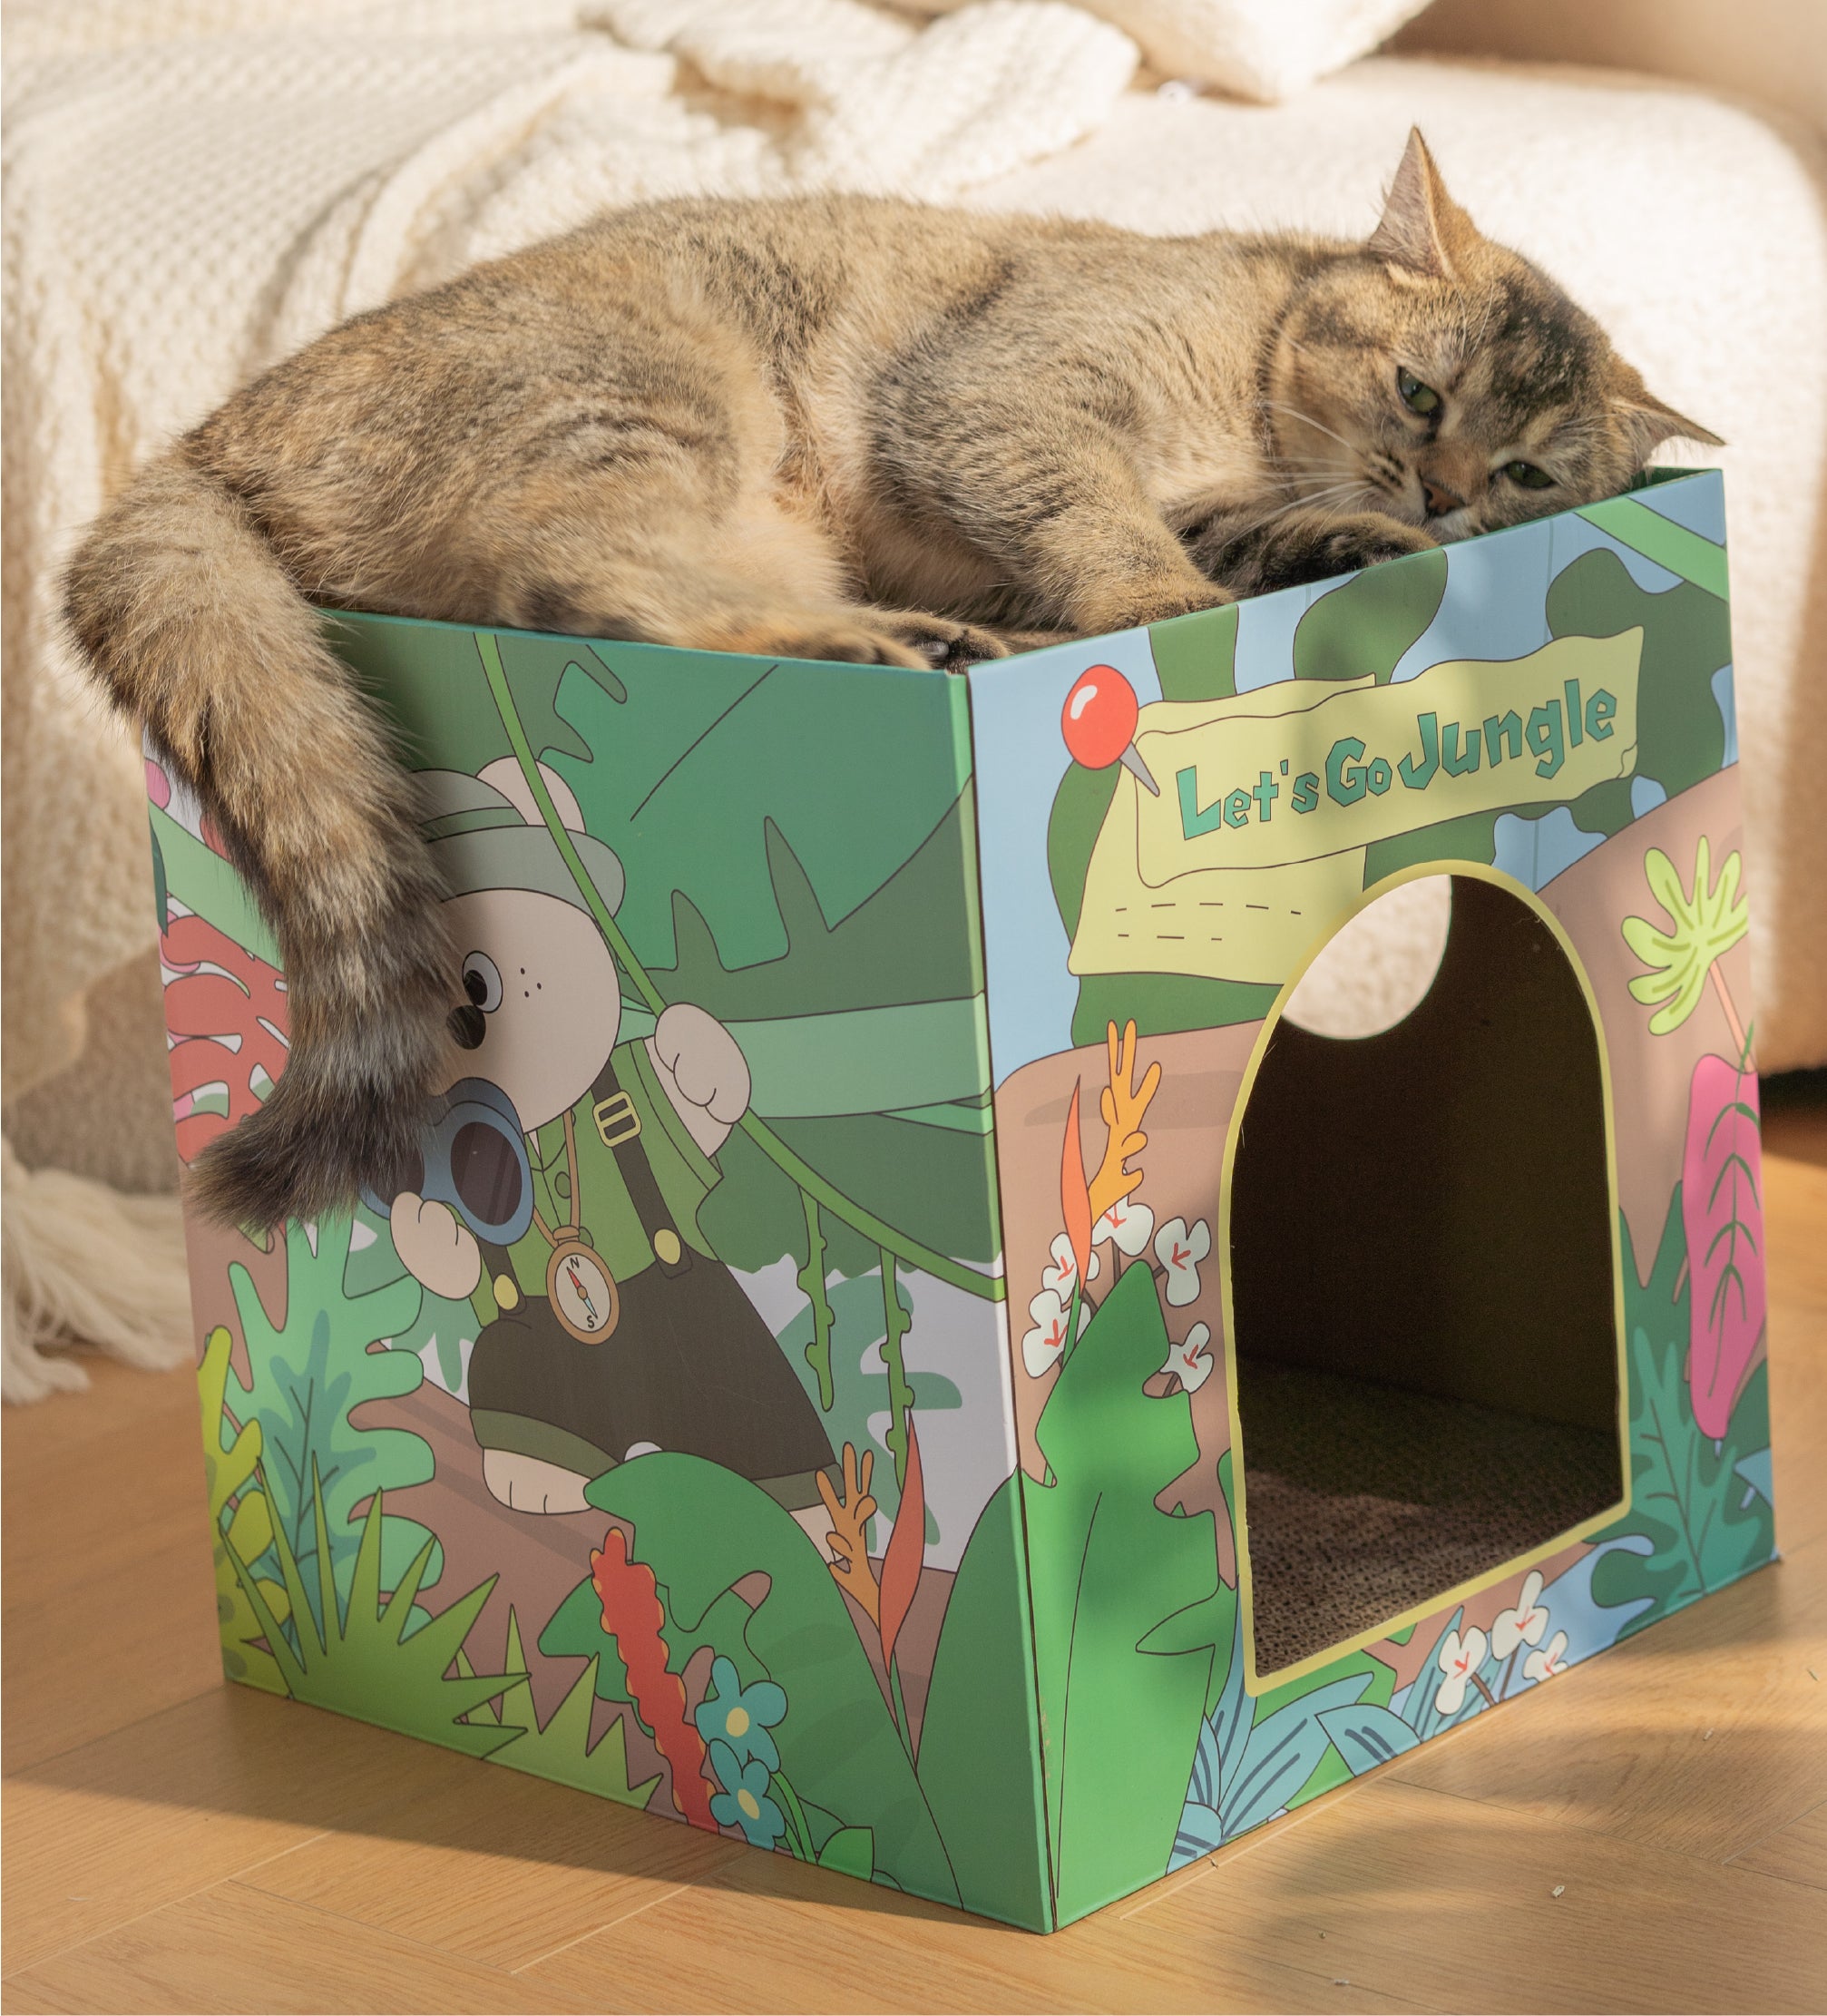
Strong structure
High-quality carton, equipped with 6 pieces of 3M
double-sided tape to reinforce the surrounding area
Bearing weight 15 pounds,suitable for cats of most sizes
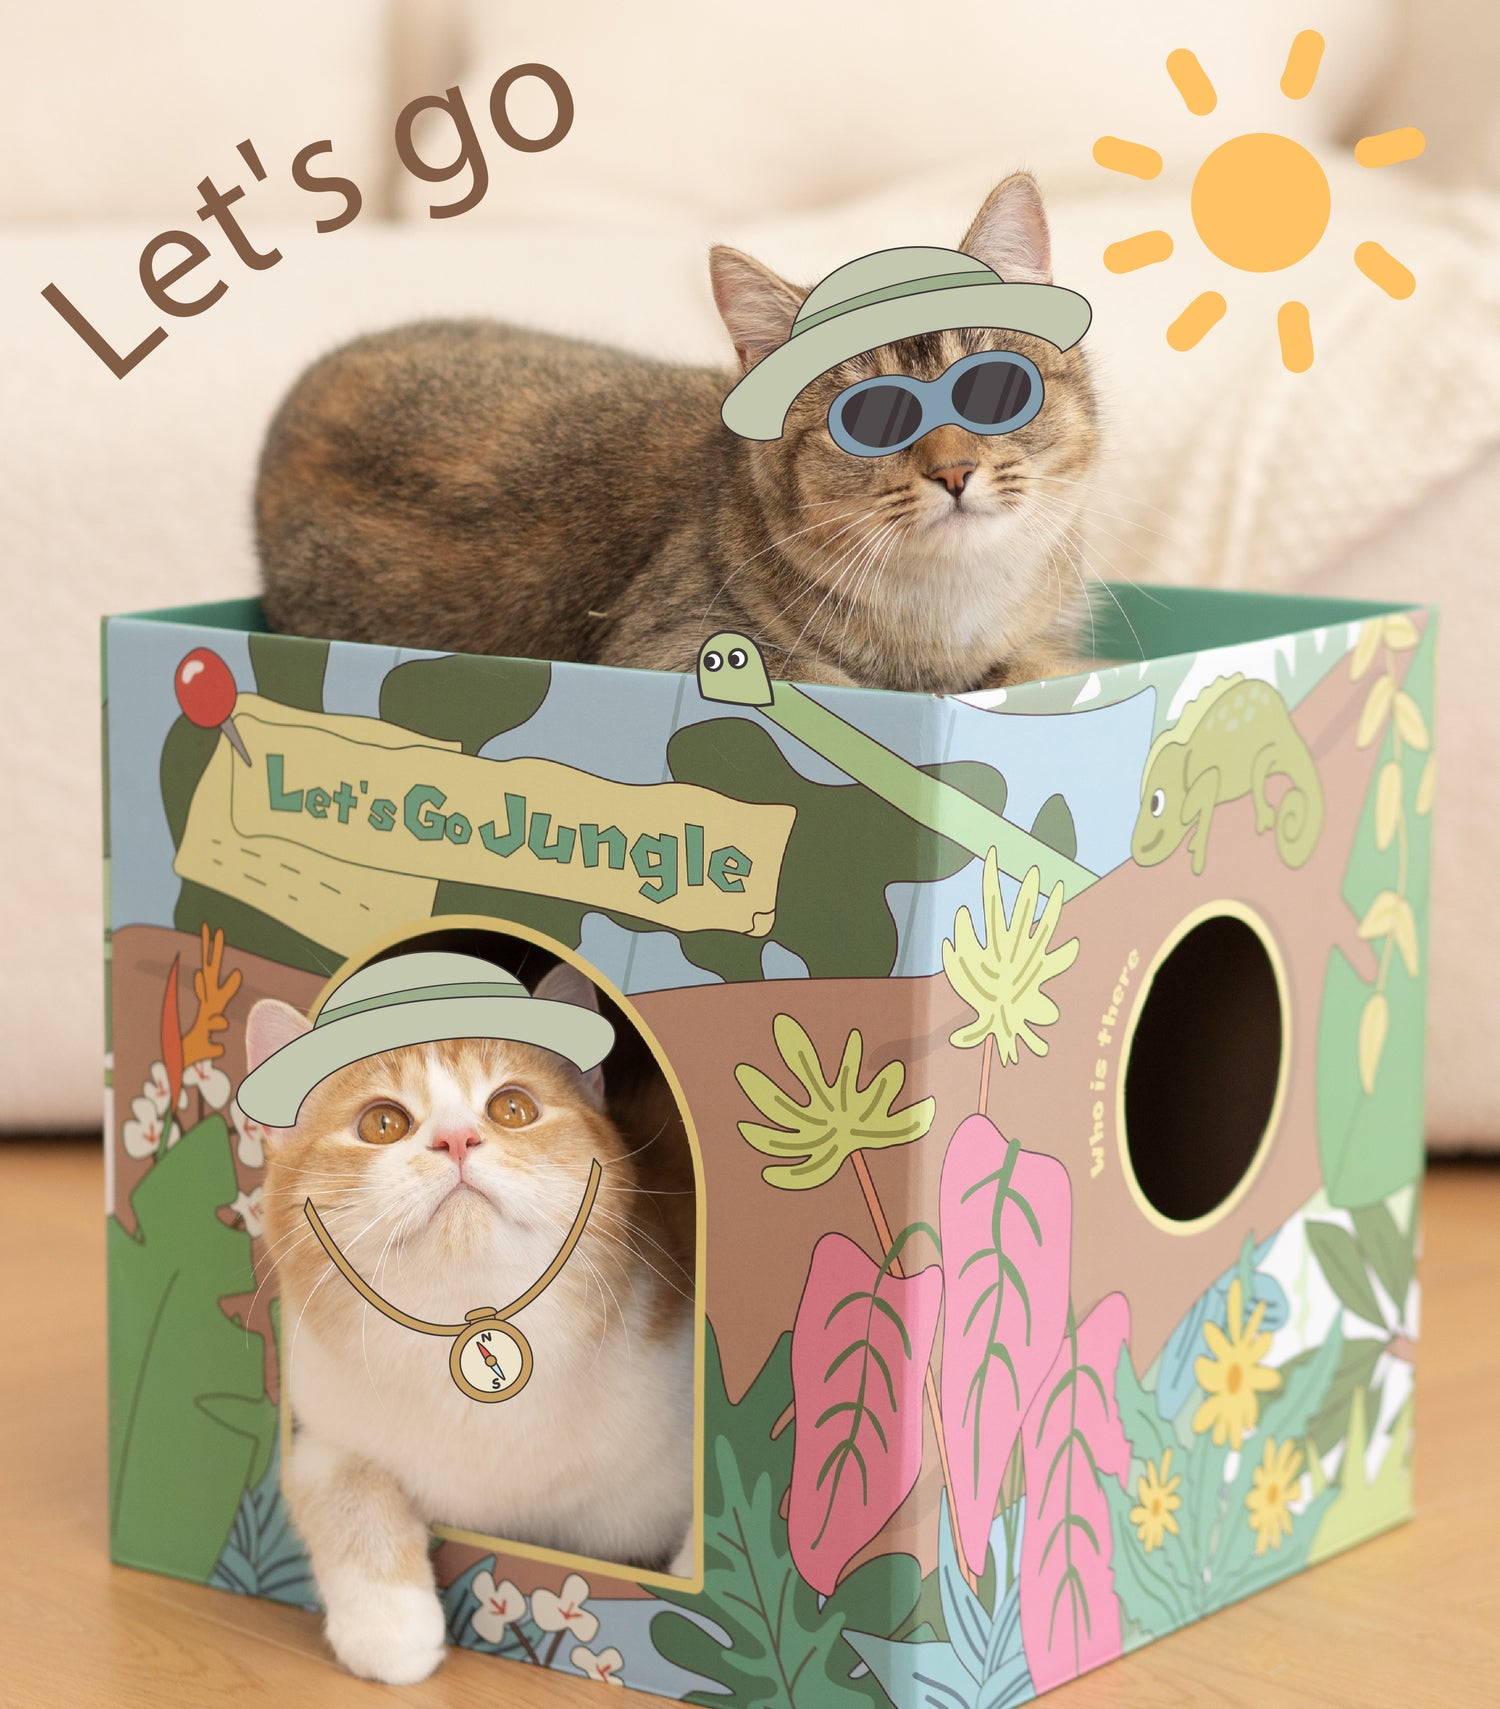
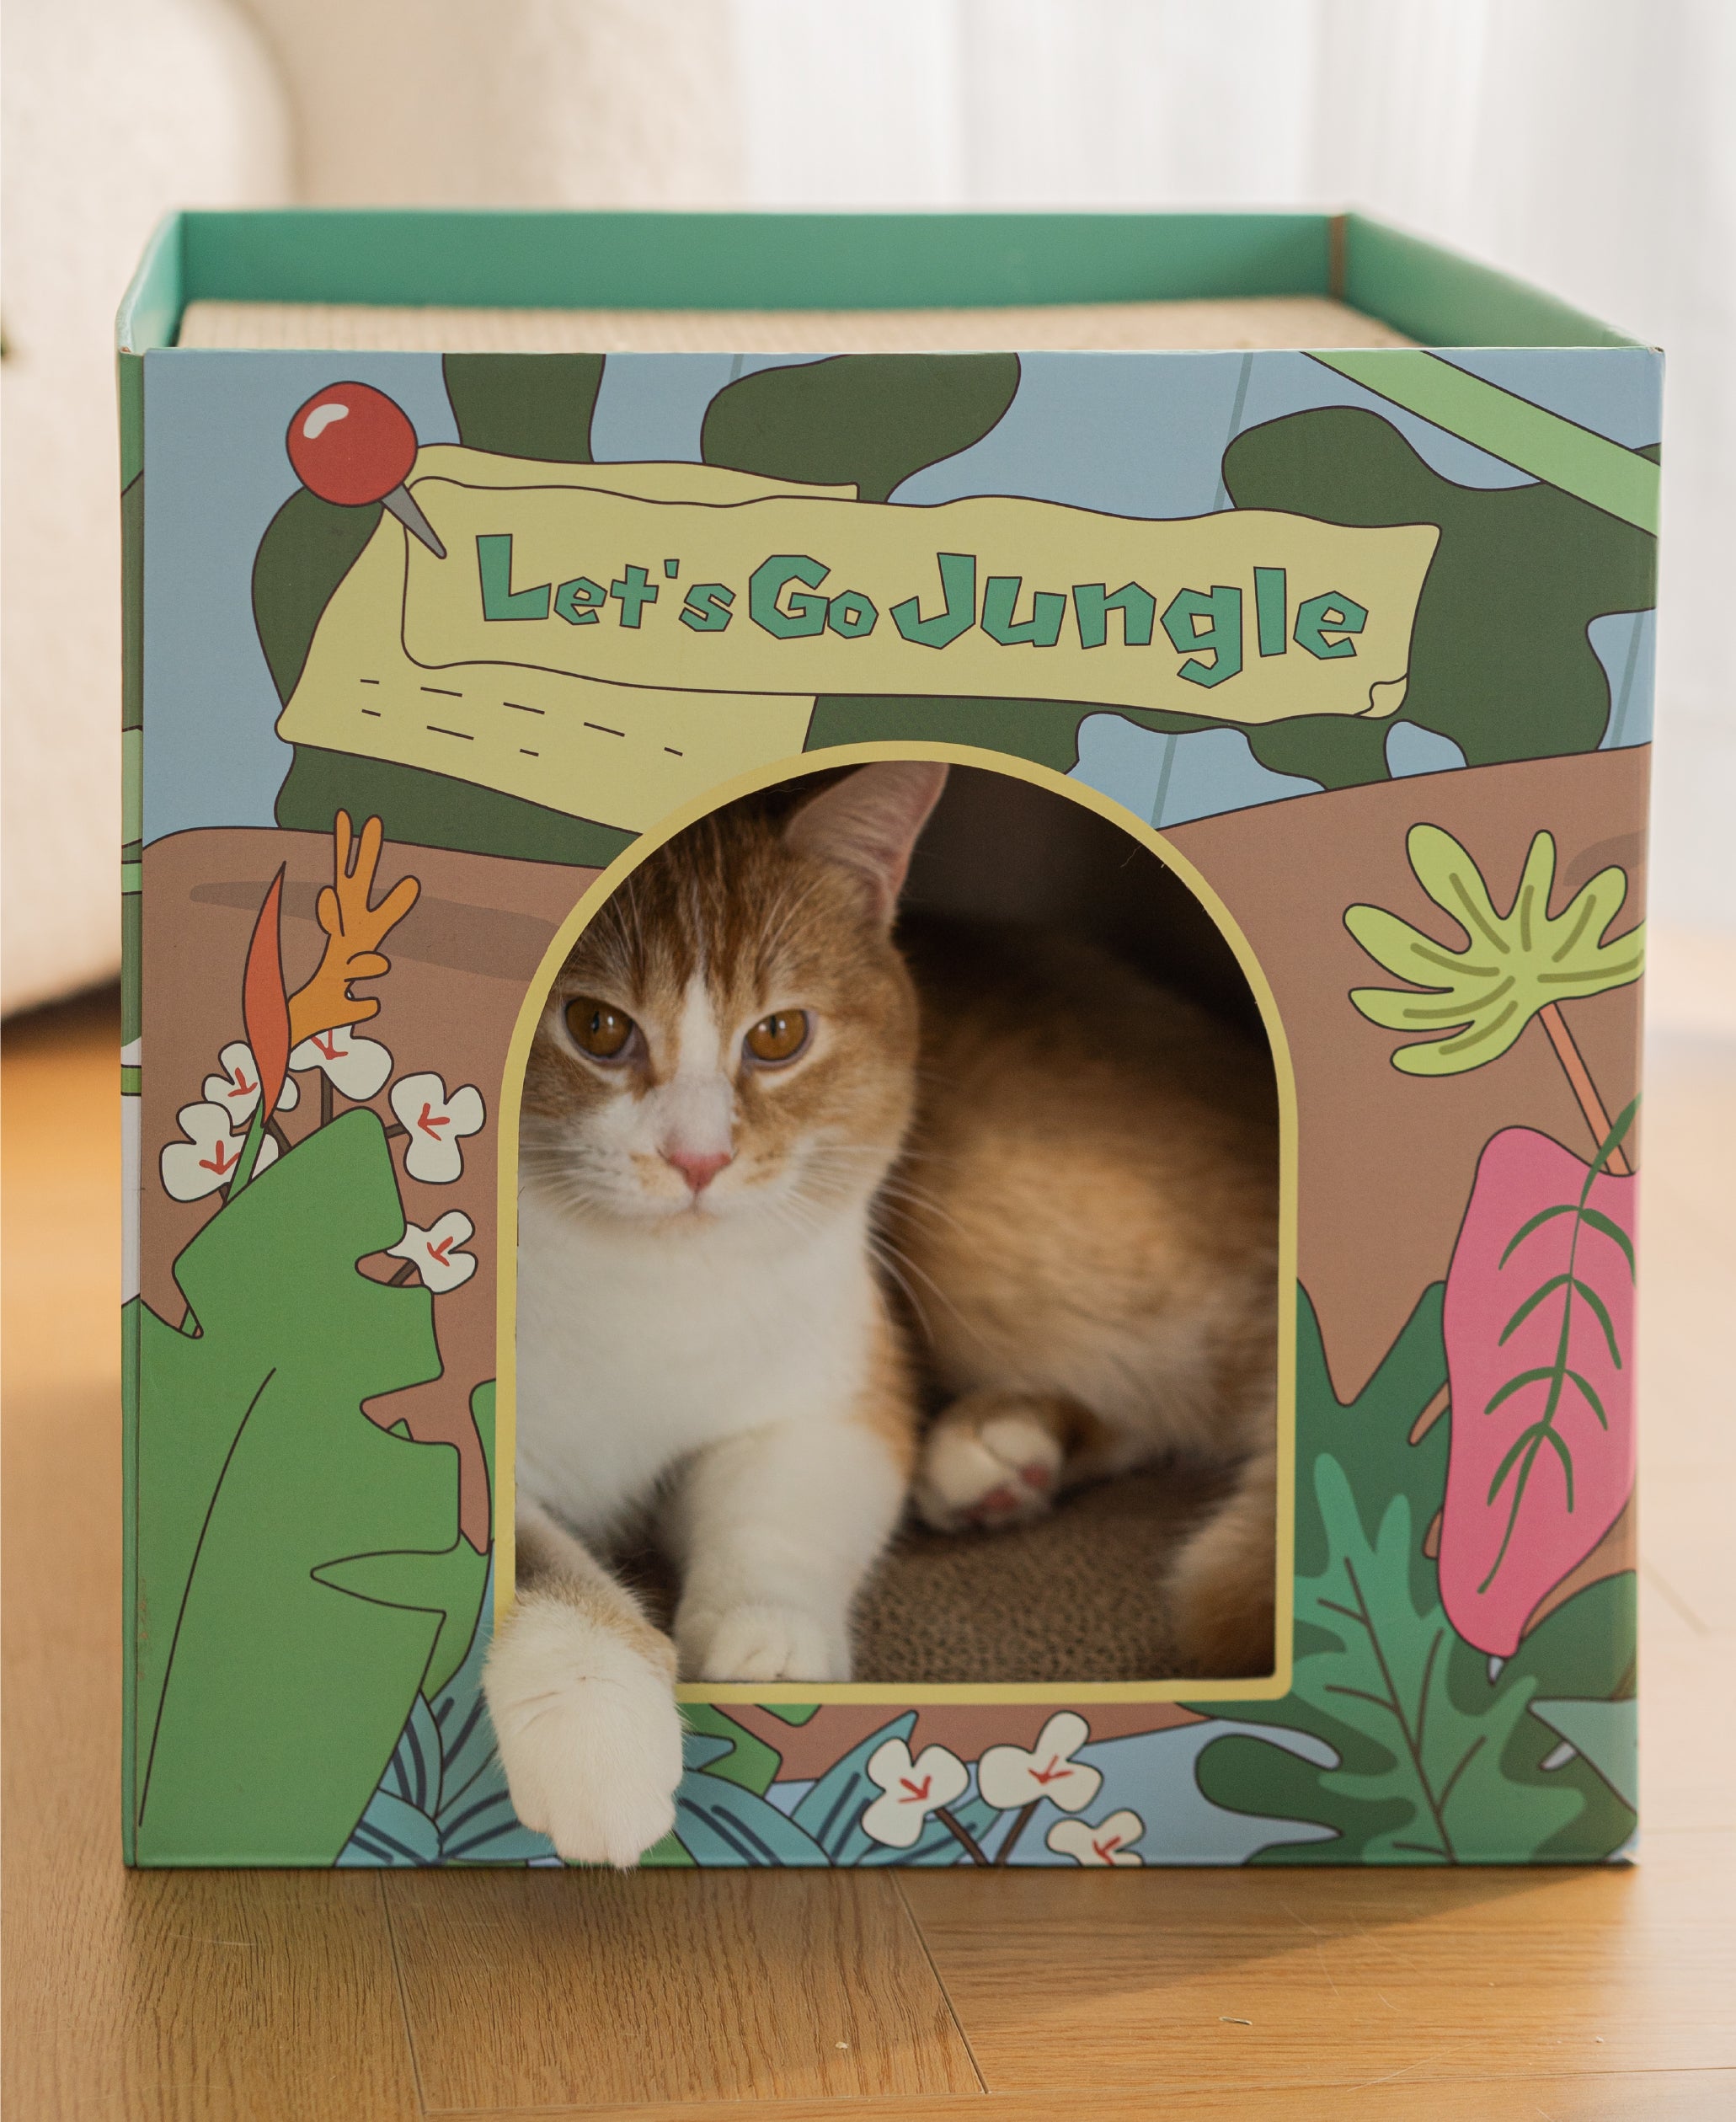
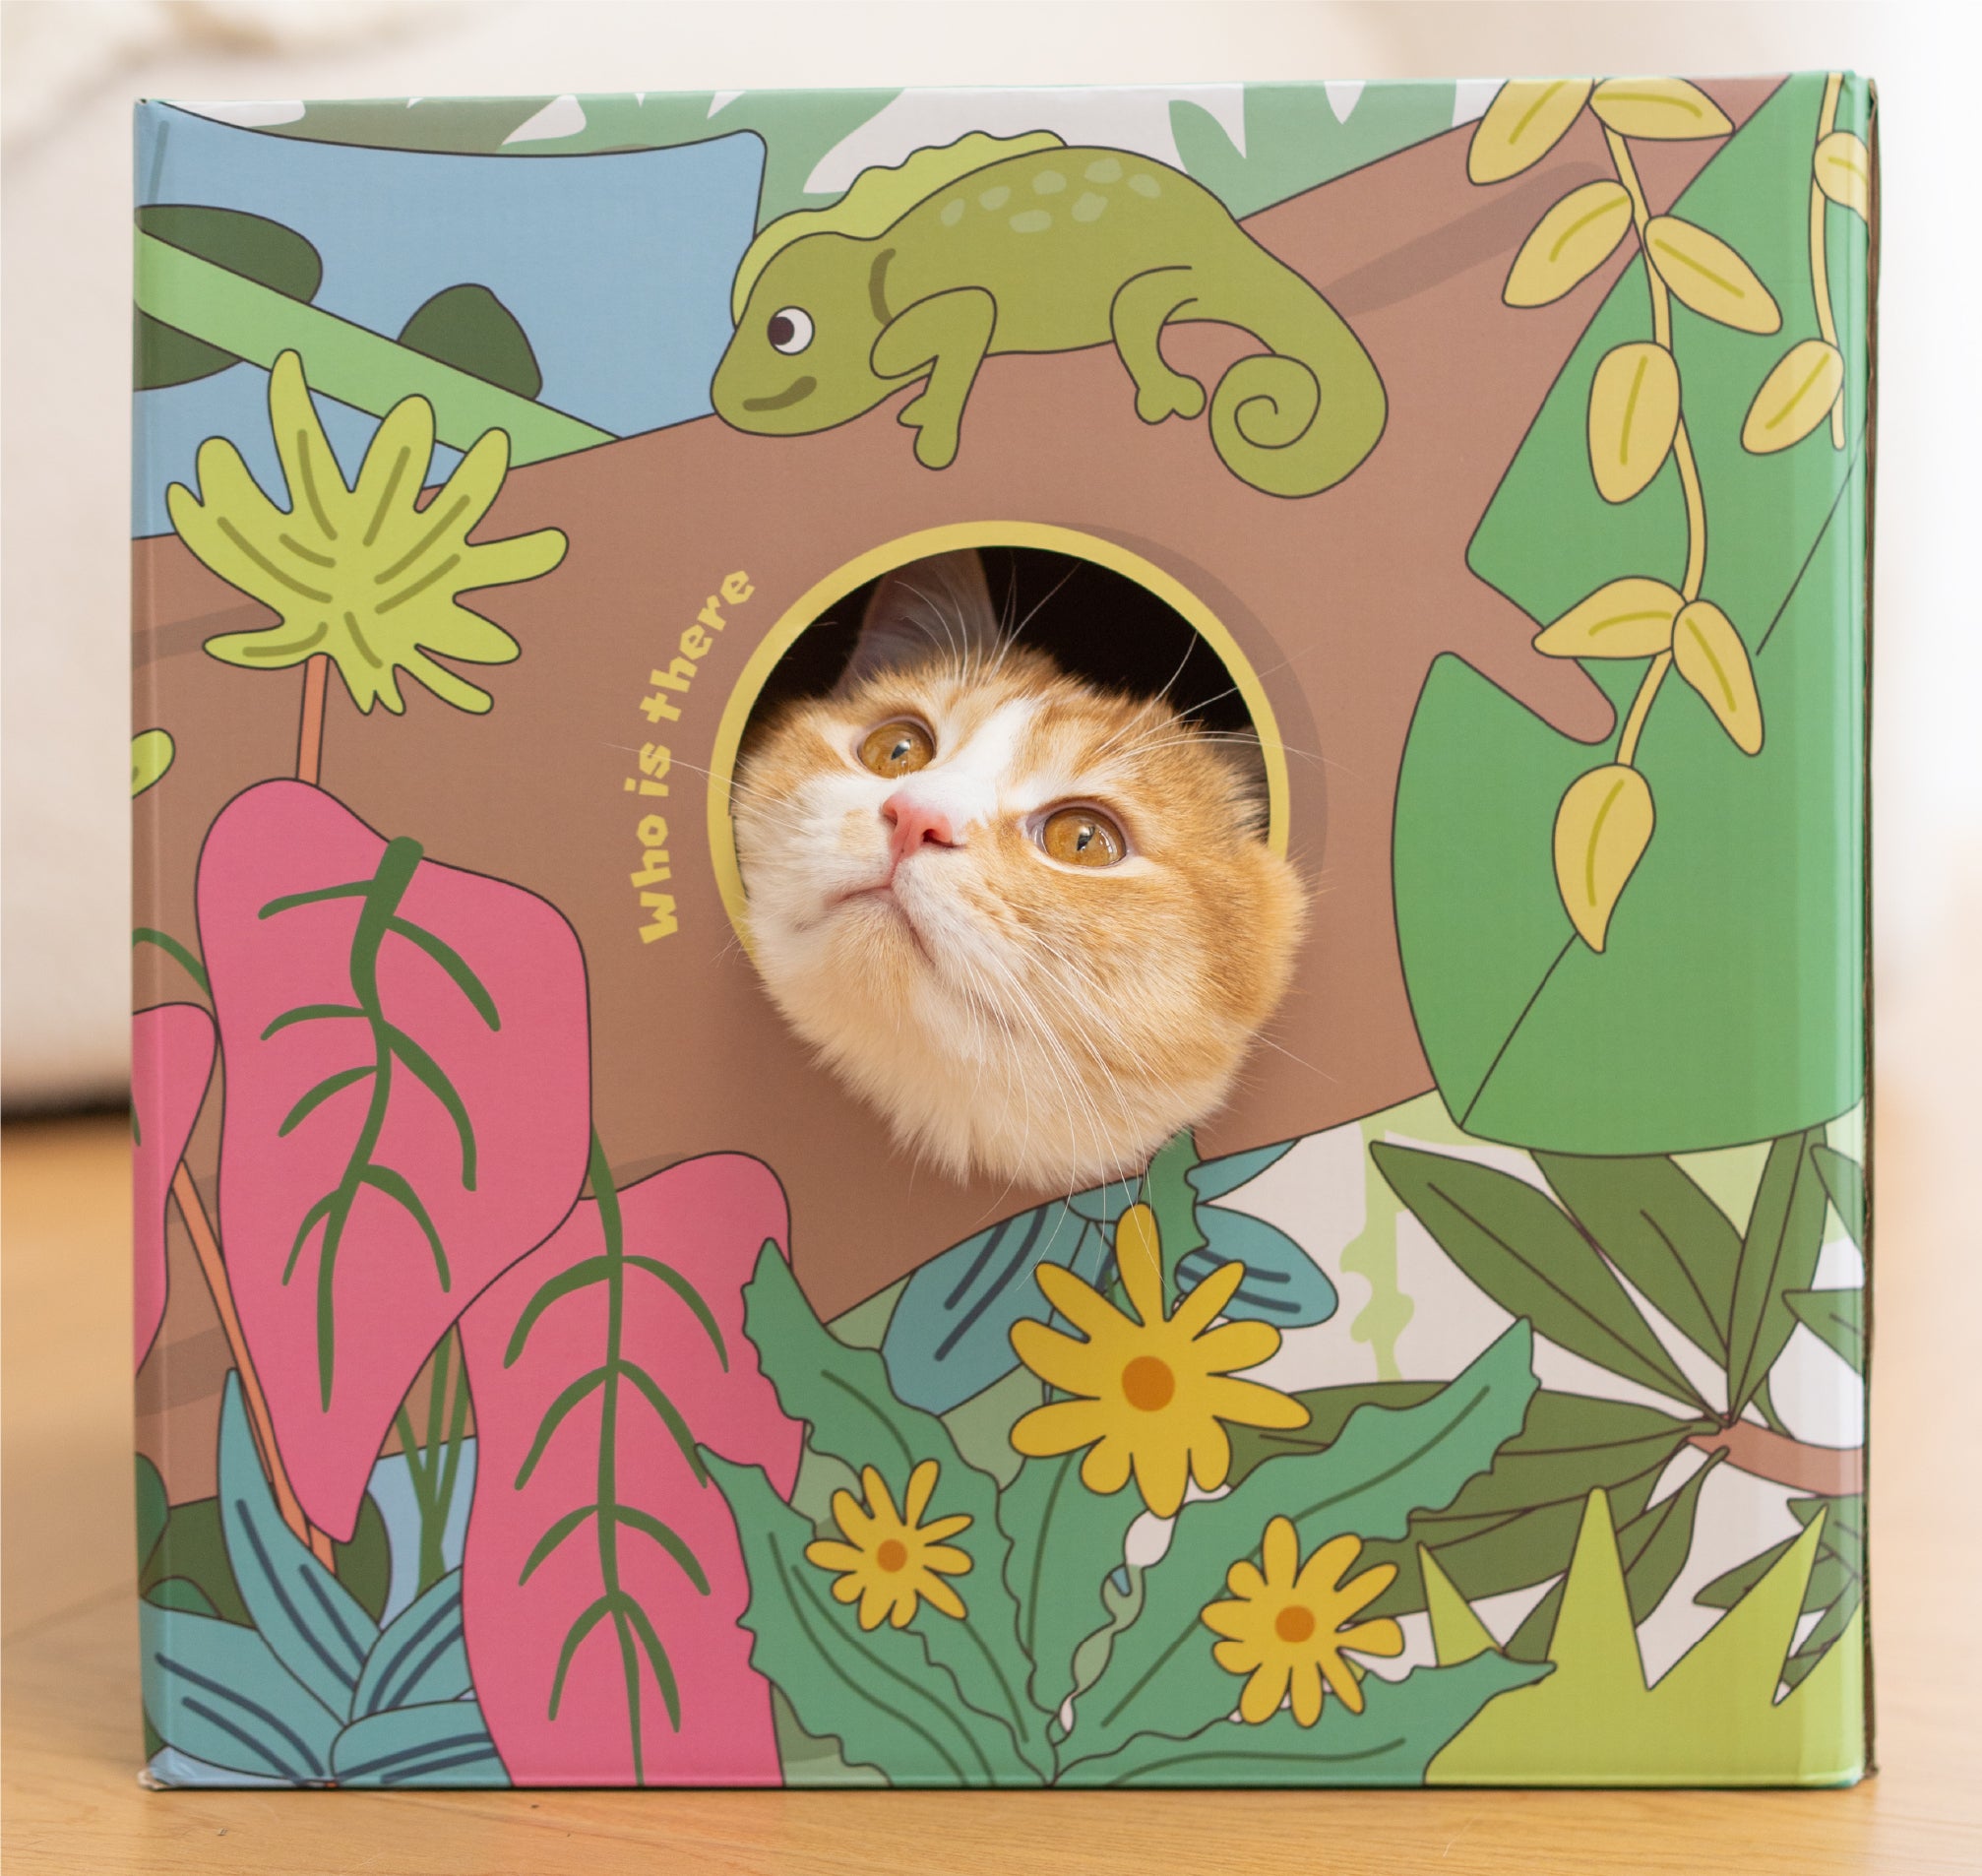
Product display
Thank you model
-

Strong
model 8.0lb
-

Mustache
model 7.5lb


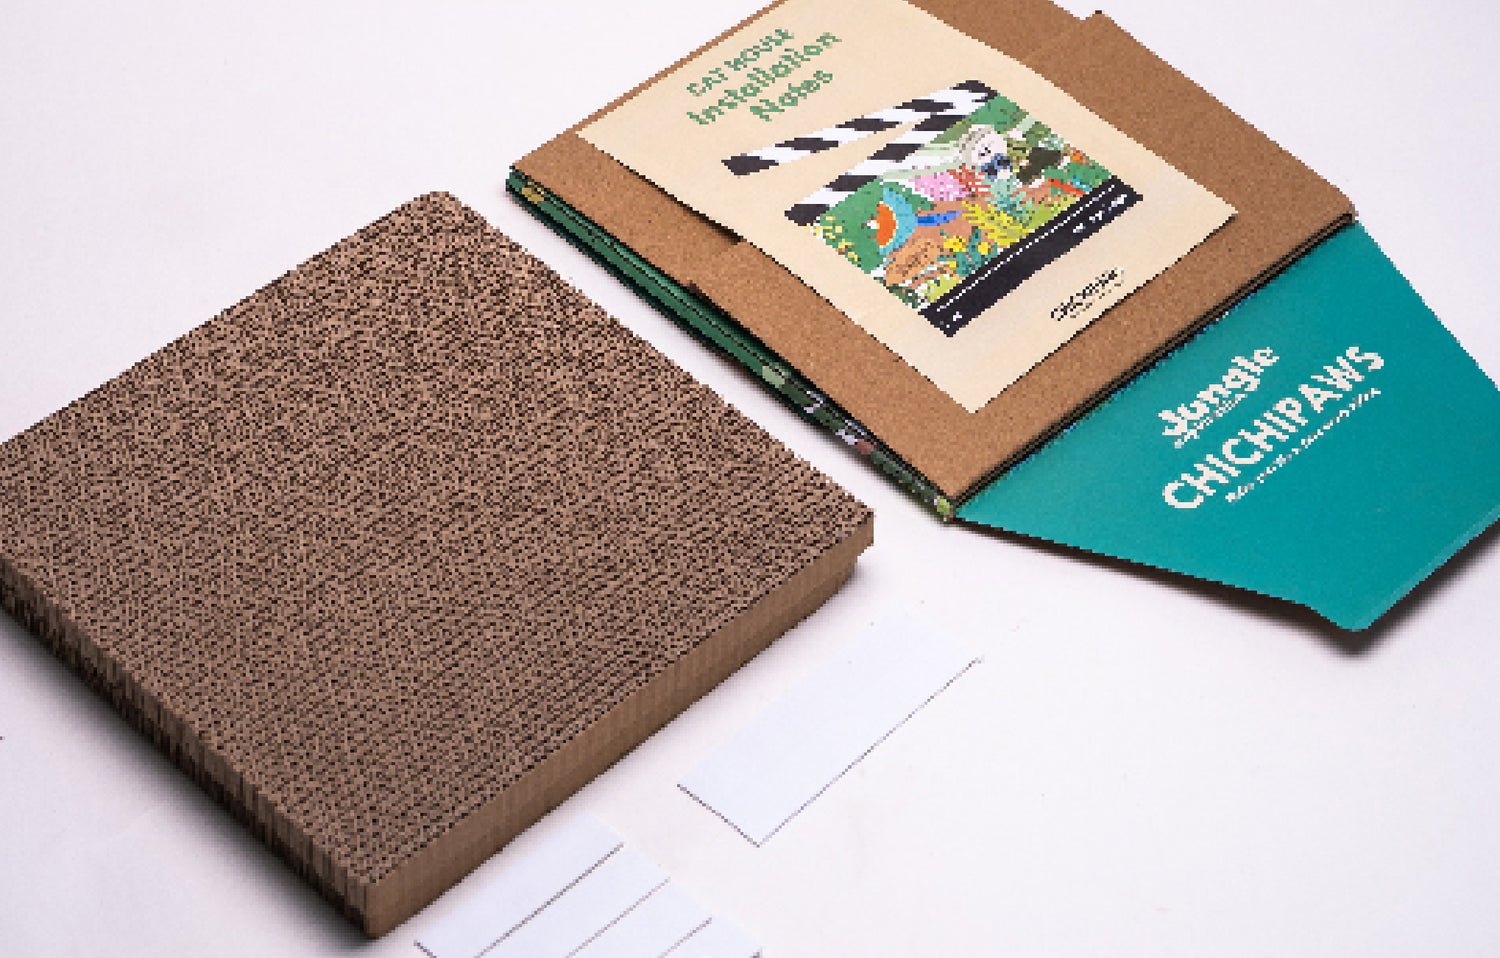
Installation method
< STEP 1
Open the package and take out the parts
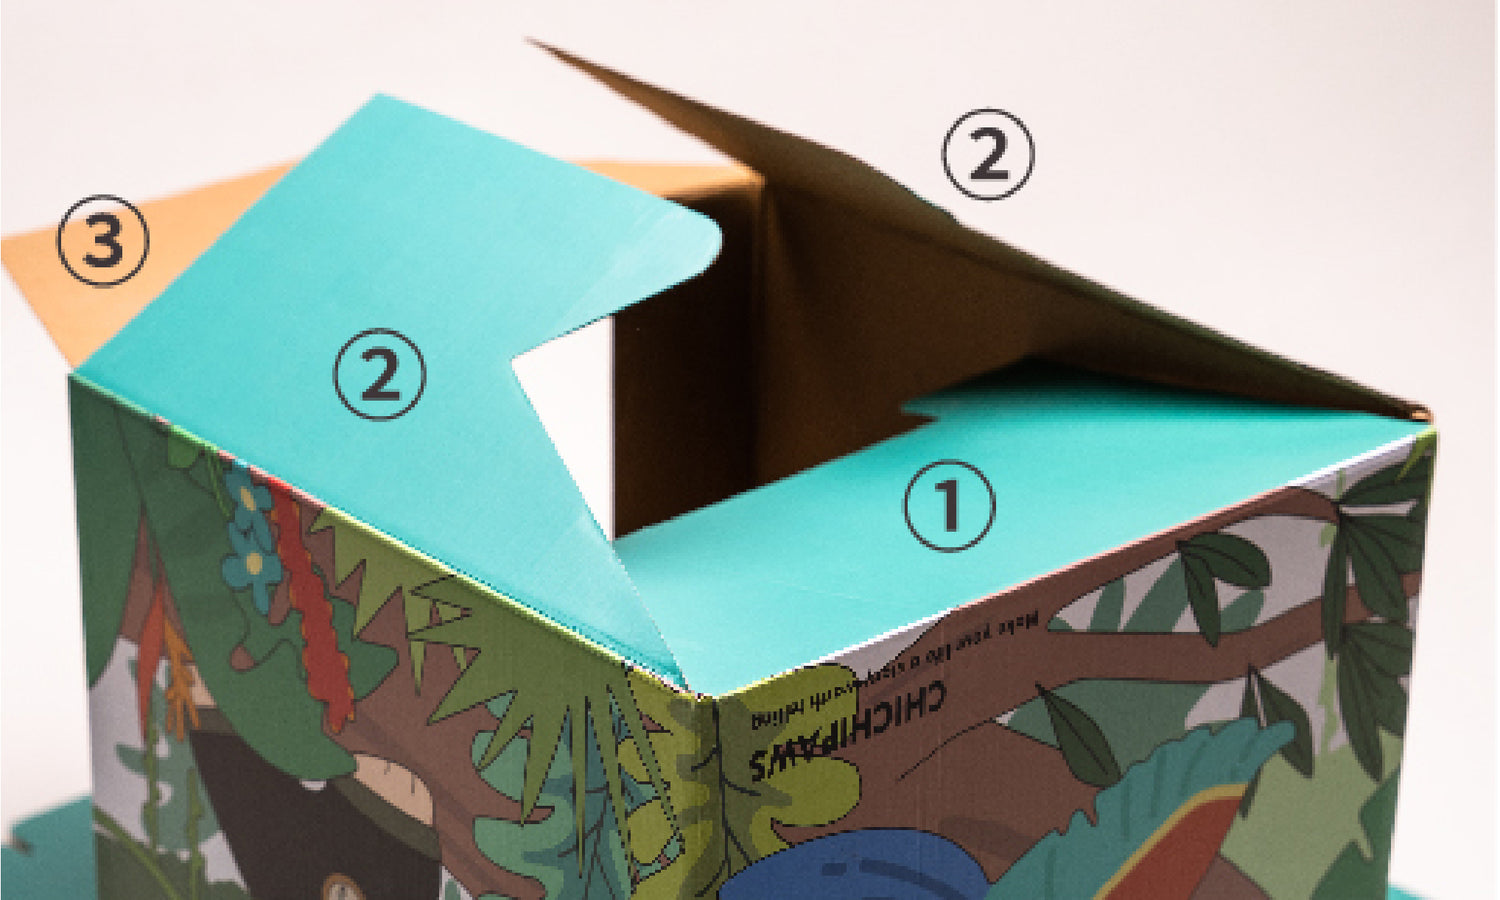
Installation method
STEP 2 >
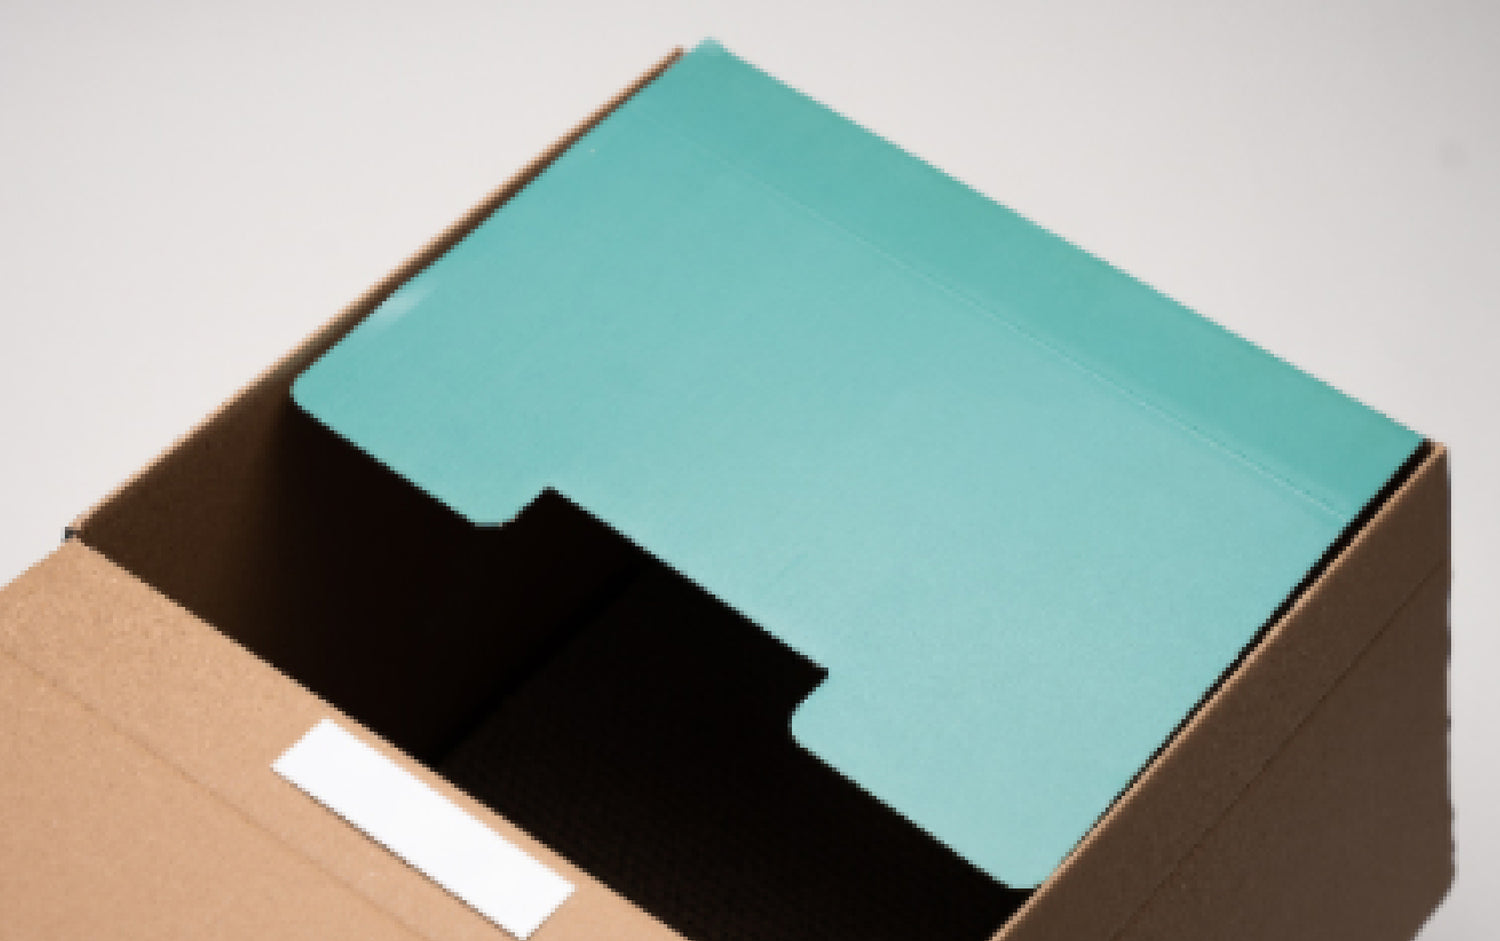
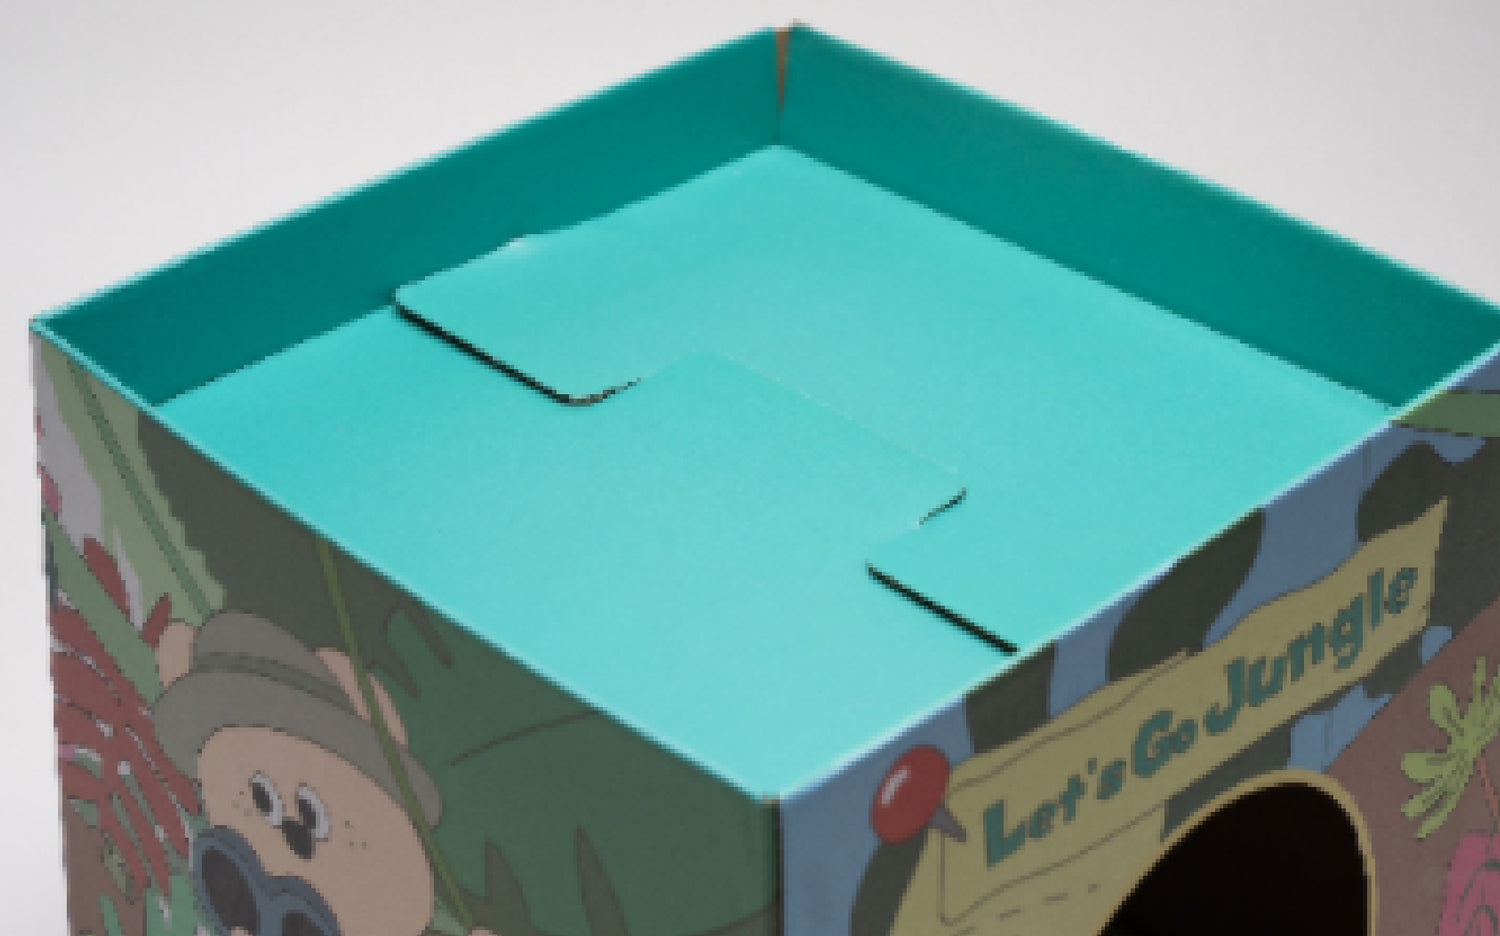
Fold the bottom cardboard in order
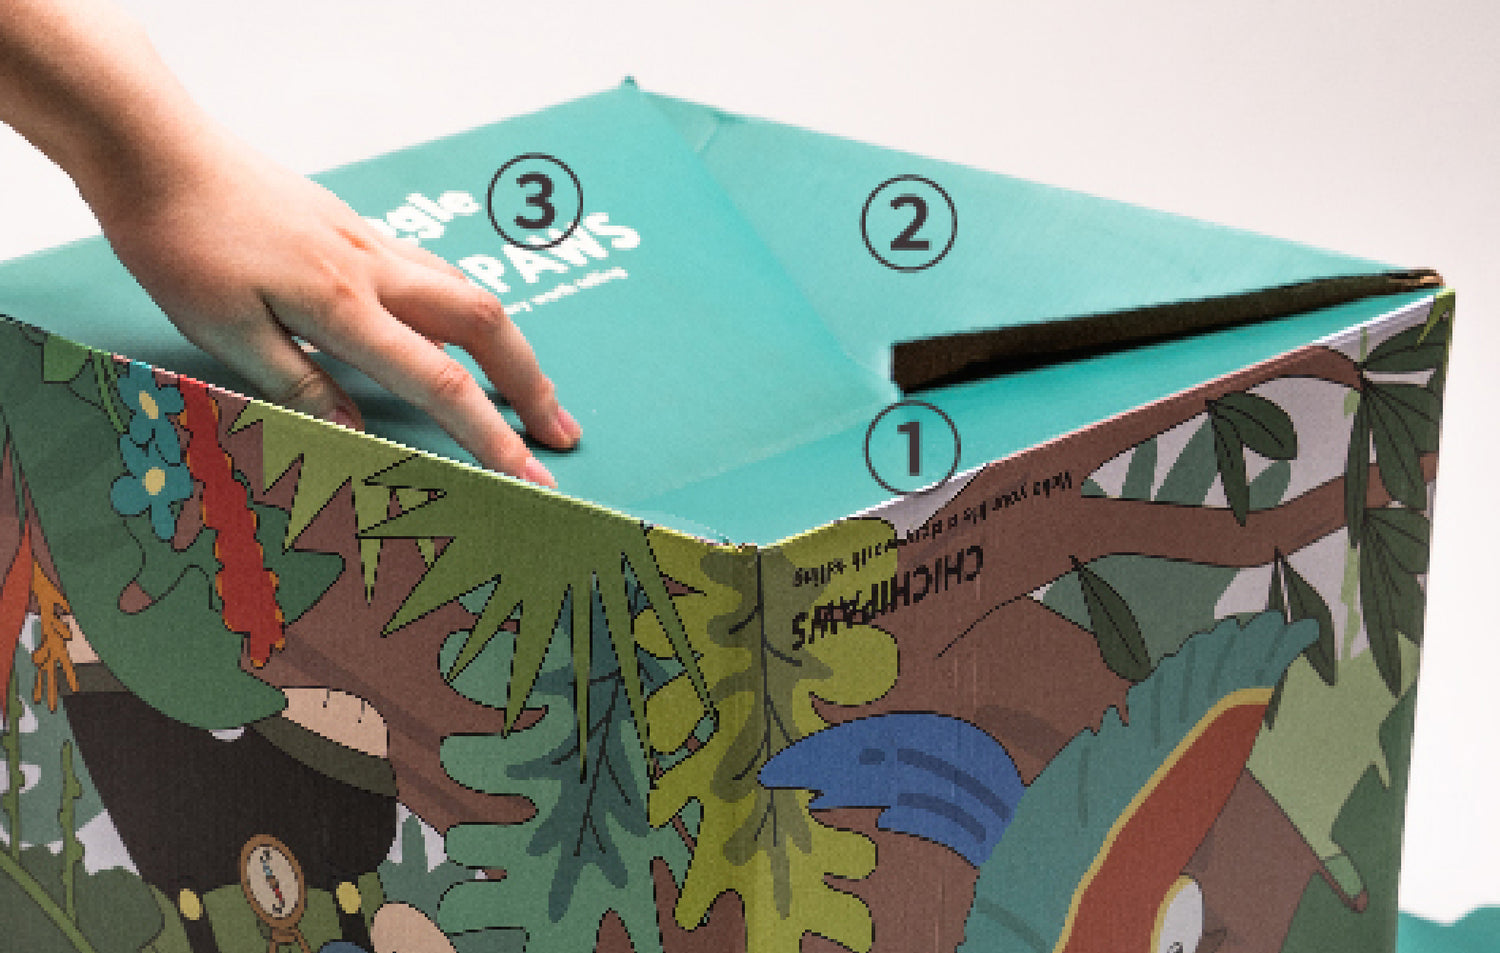
Installation method
< STEP 3
Press down the No. 3 cardboard and
tighten it
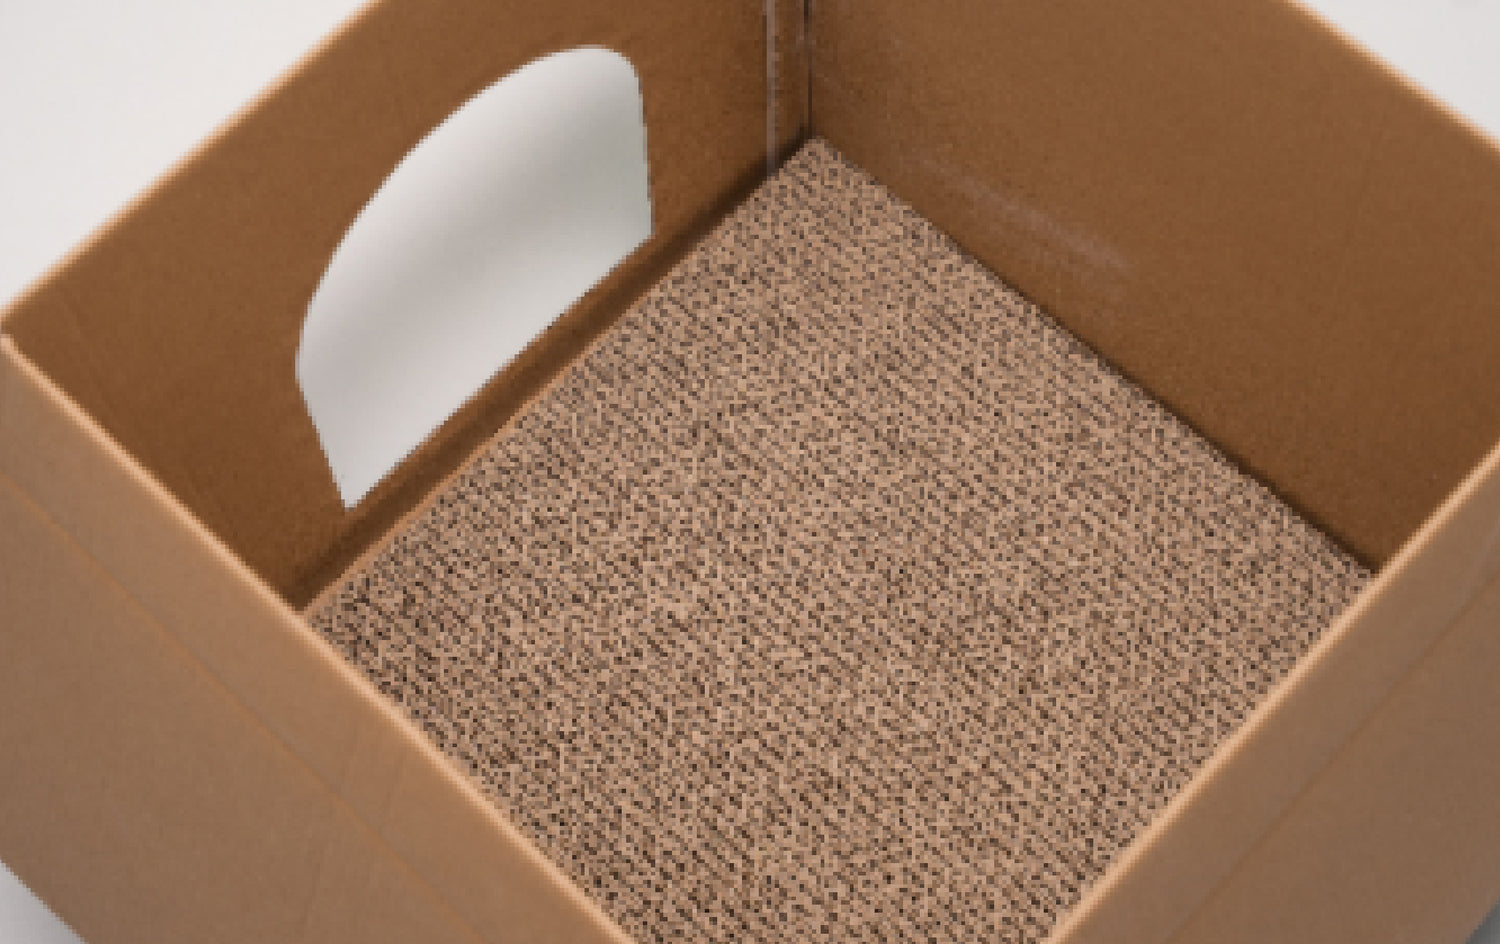
Installation method
STEP 4 >
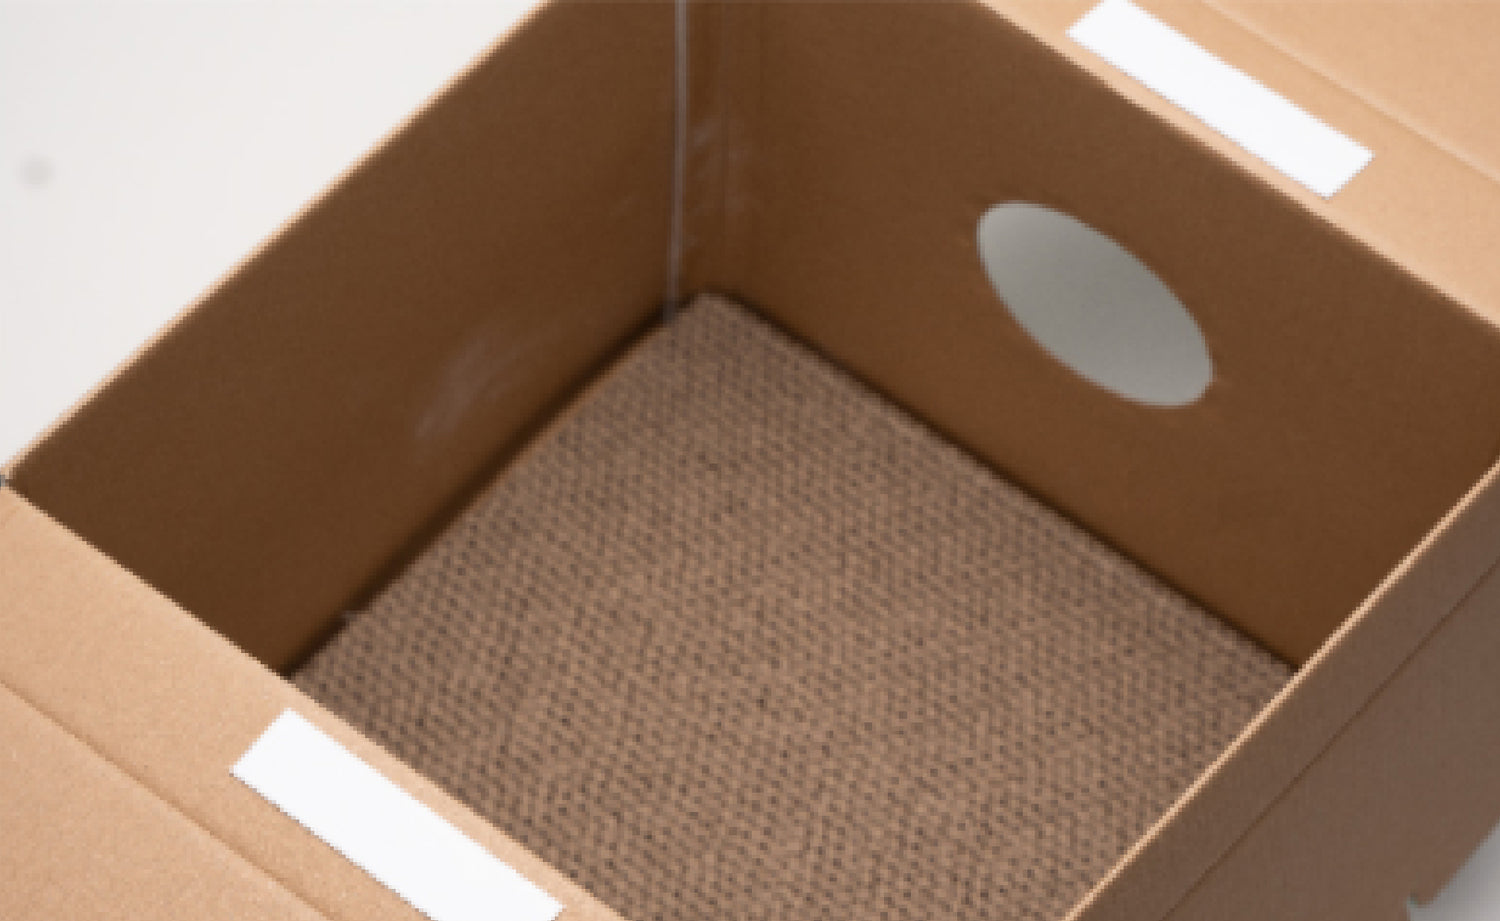
Straighten the cat cardboard
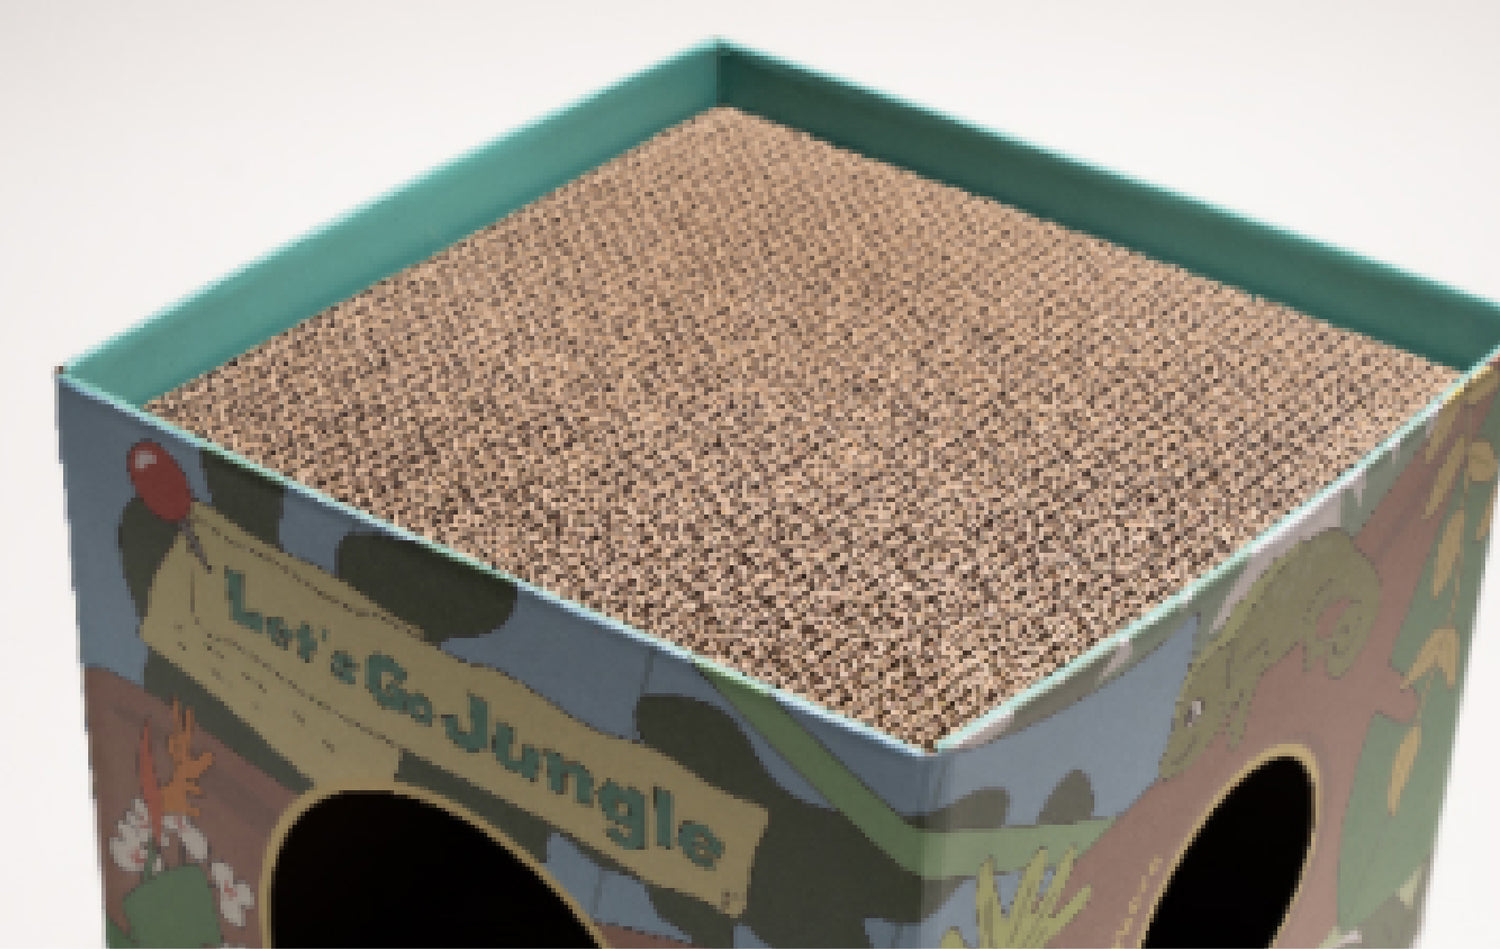
Place a scratching board in the bottom
Installation method
< STEP 5
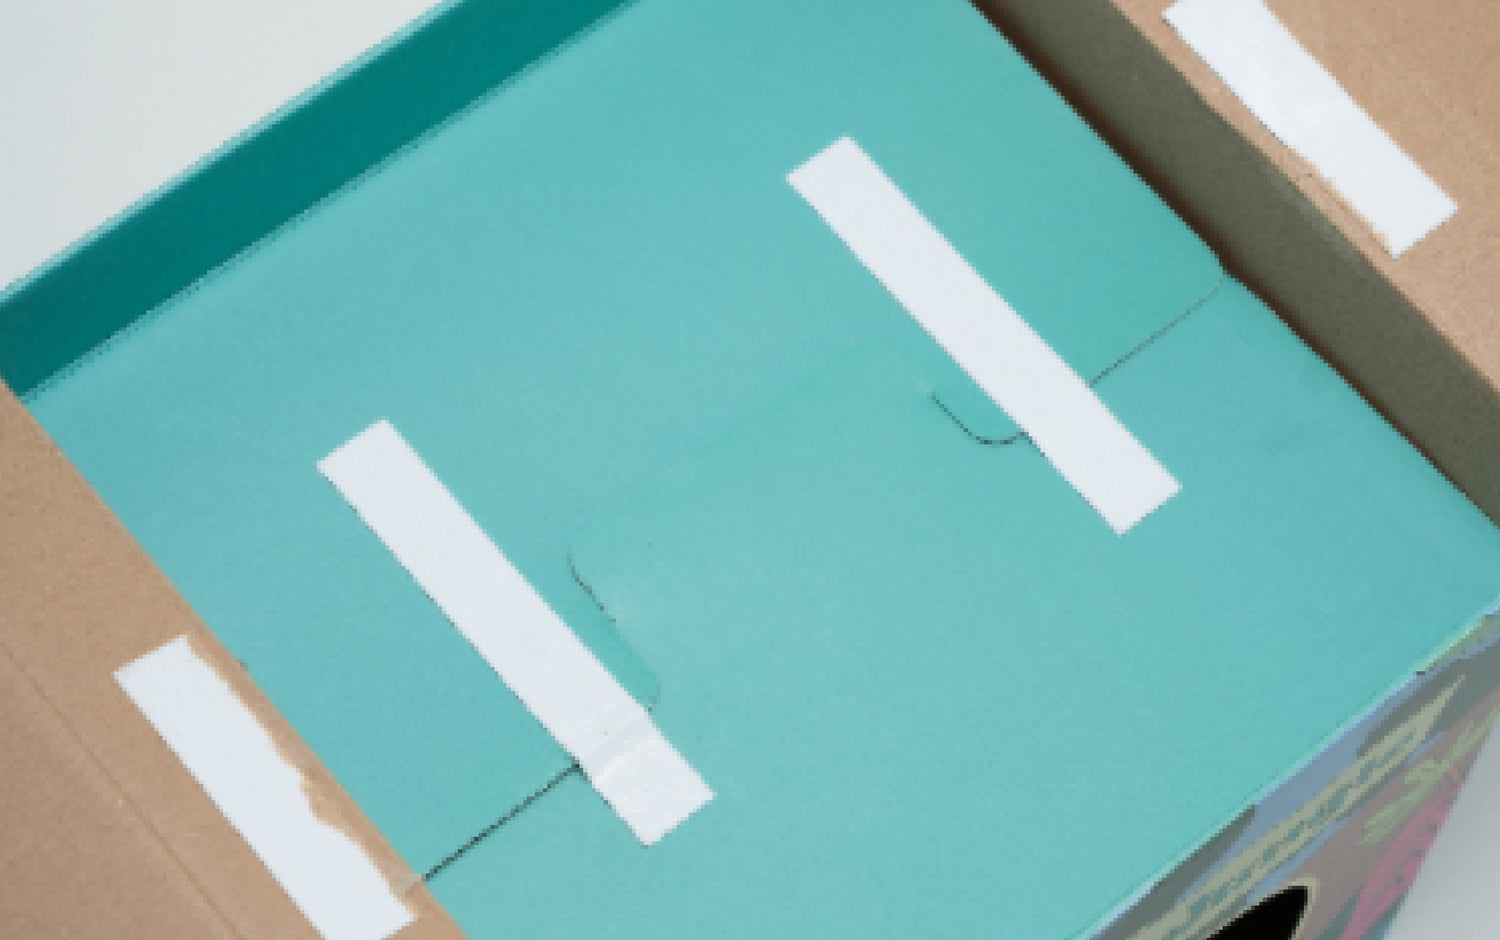
Attach four strips of double-sided tape on
to the four positions in the picture
Installation method
STEP 6 >
Peel off the double-sided tape protective film
Fold along the crease
Installation method
< STEP 7
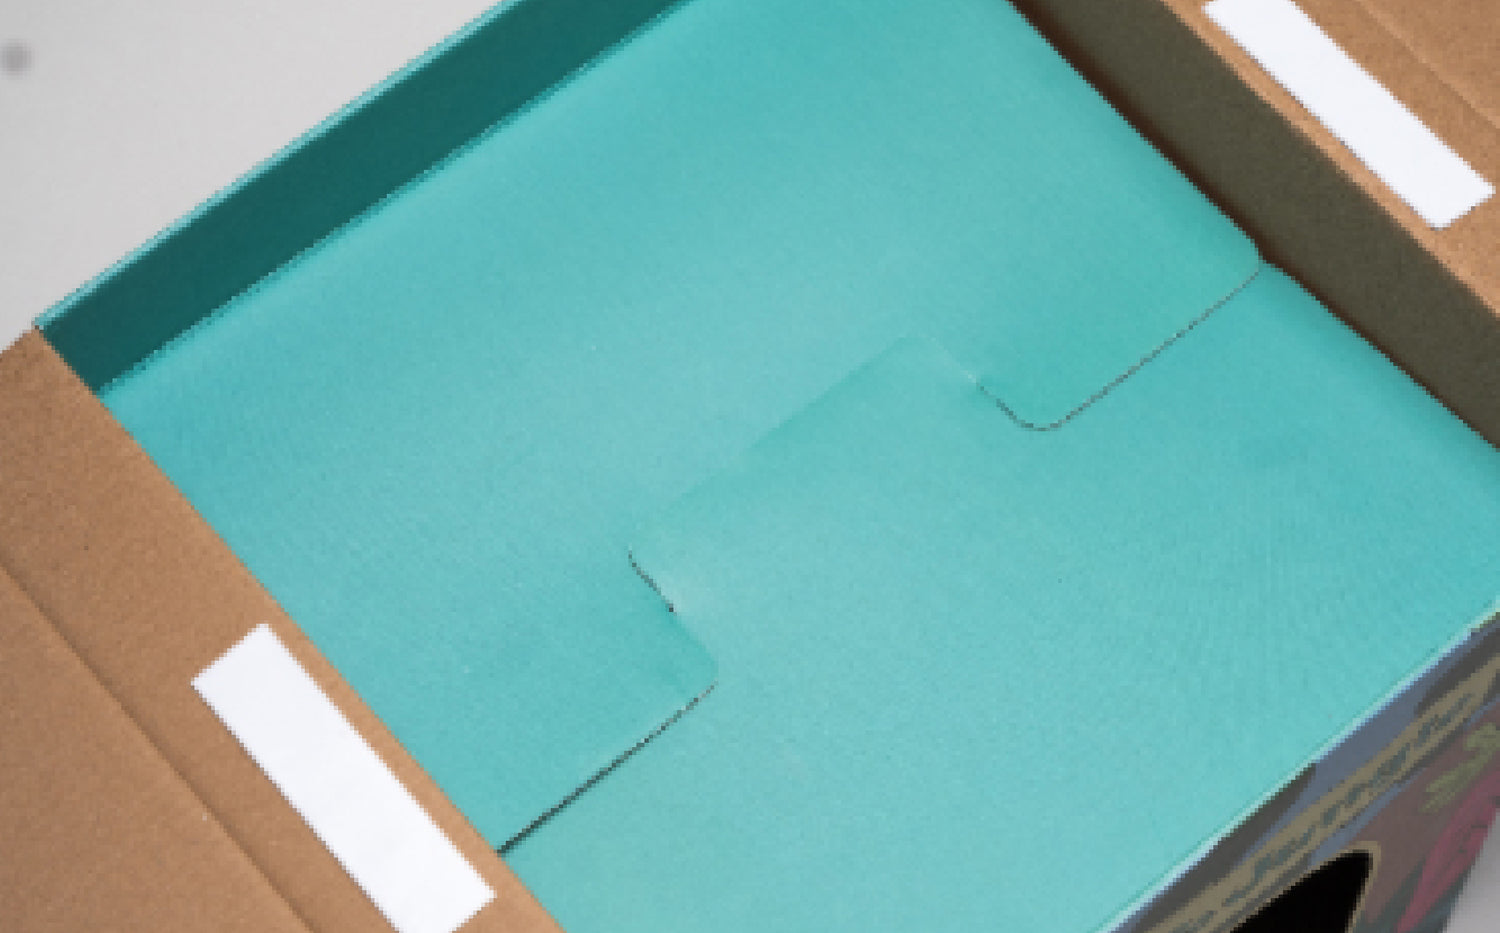
Overlap two cardboards
Alignment and flattening
Installation method
STEP 8 >
Attach two pieces of double-sided
tape as shown in the picture
In both positions, peel off the protective film
Installation method
< STEP 9
Align and flattenanother two
overlappingcardboards.
Installation method
STEP 10 >
Put in upper scratching board.